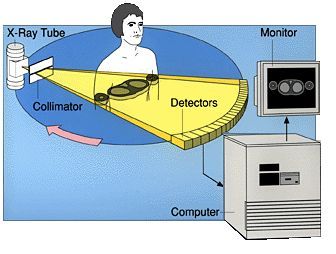
I think many people these days are familiar with CT scanning, or its cousin, the MRI, even more so. But many probably don’t know how it works. Using x-rays shot thru an object in successive slices, a layer by layer analysis of a structure can be performed. When stacked together, these images can digitally reconstruct an object and its insides.
I’ve had some experience while working at the American Museum of Natural History in preparing fossils for CT scanning, and even seen the machine in action, but I’ve never actually operated a scanner or performed a scan. Next week that changes. I get to help scan a whole series of tiny mammal teeth. While the scanning itself will be handled by the scanner, the brunt of the actual work will be setting up the specimens for the scan. No easy task when there are dozens of teeth each millimeters long. Scans can take several hours so, for the sake of time, small fossils are normally mounted together and scanned in groups. Huge priorities are making sure that the teeth don’t move during the scan, they aren’t touching (making it more work to digitally process after) and that they are recoverable afterward, so thoughtful consideration must be given to the way they are mounted. We don’t want to jumble small specimens and have to spend valuable hours doing the near impossible, completely avoidable, task of teasing apart jumbled specimens.
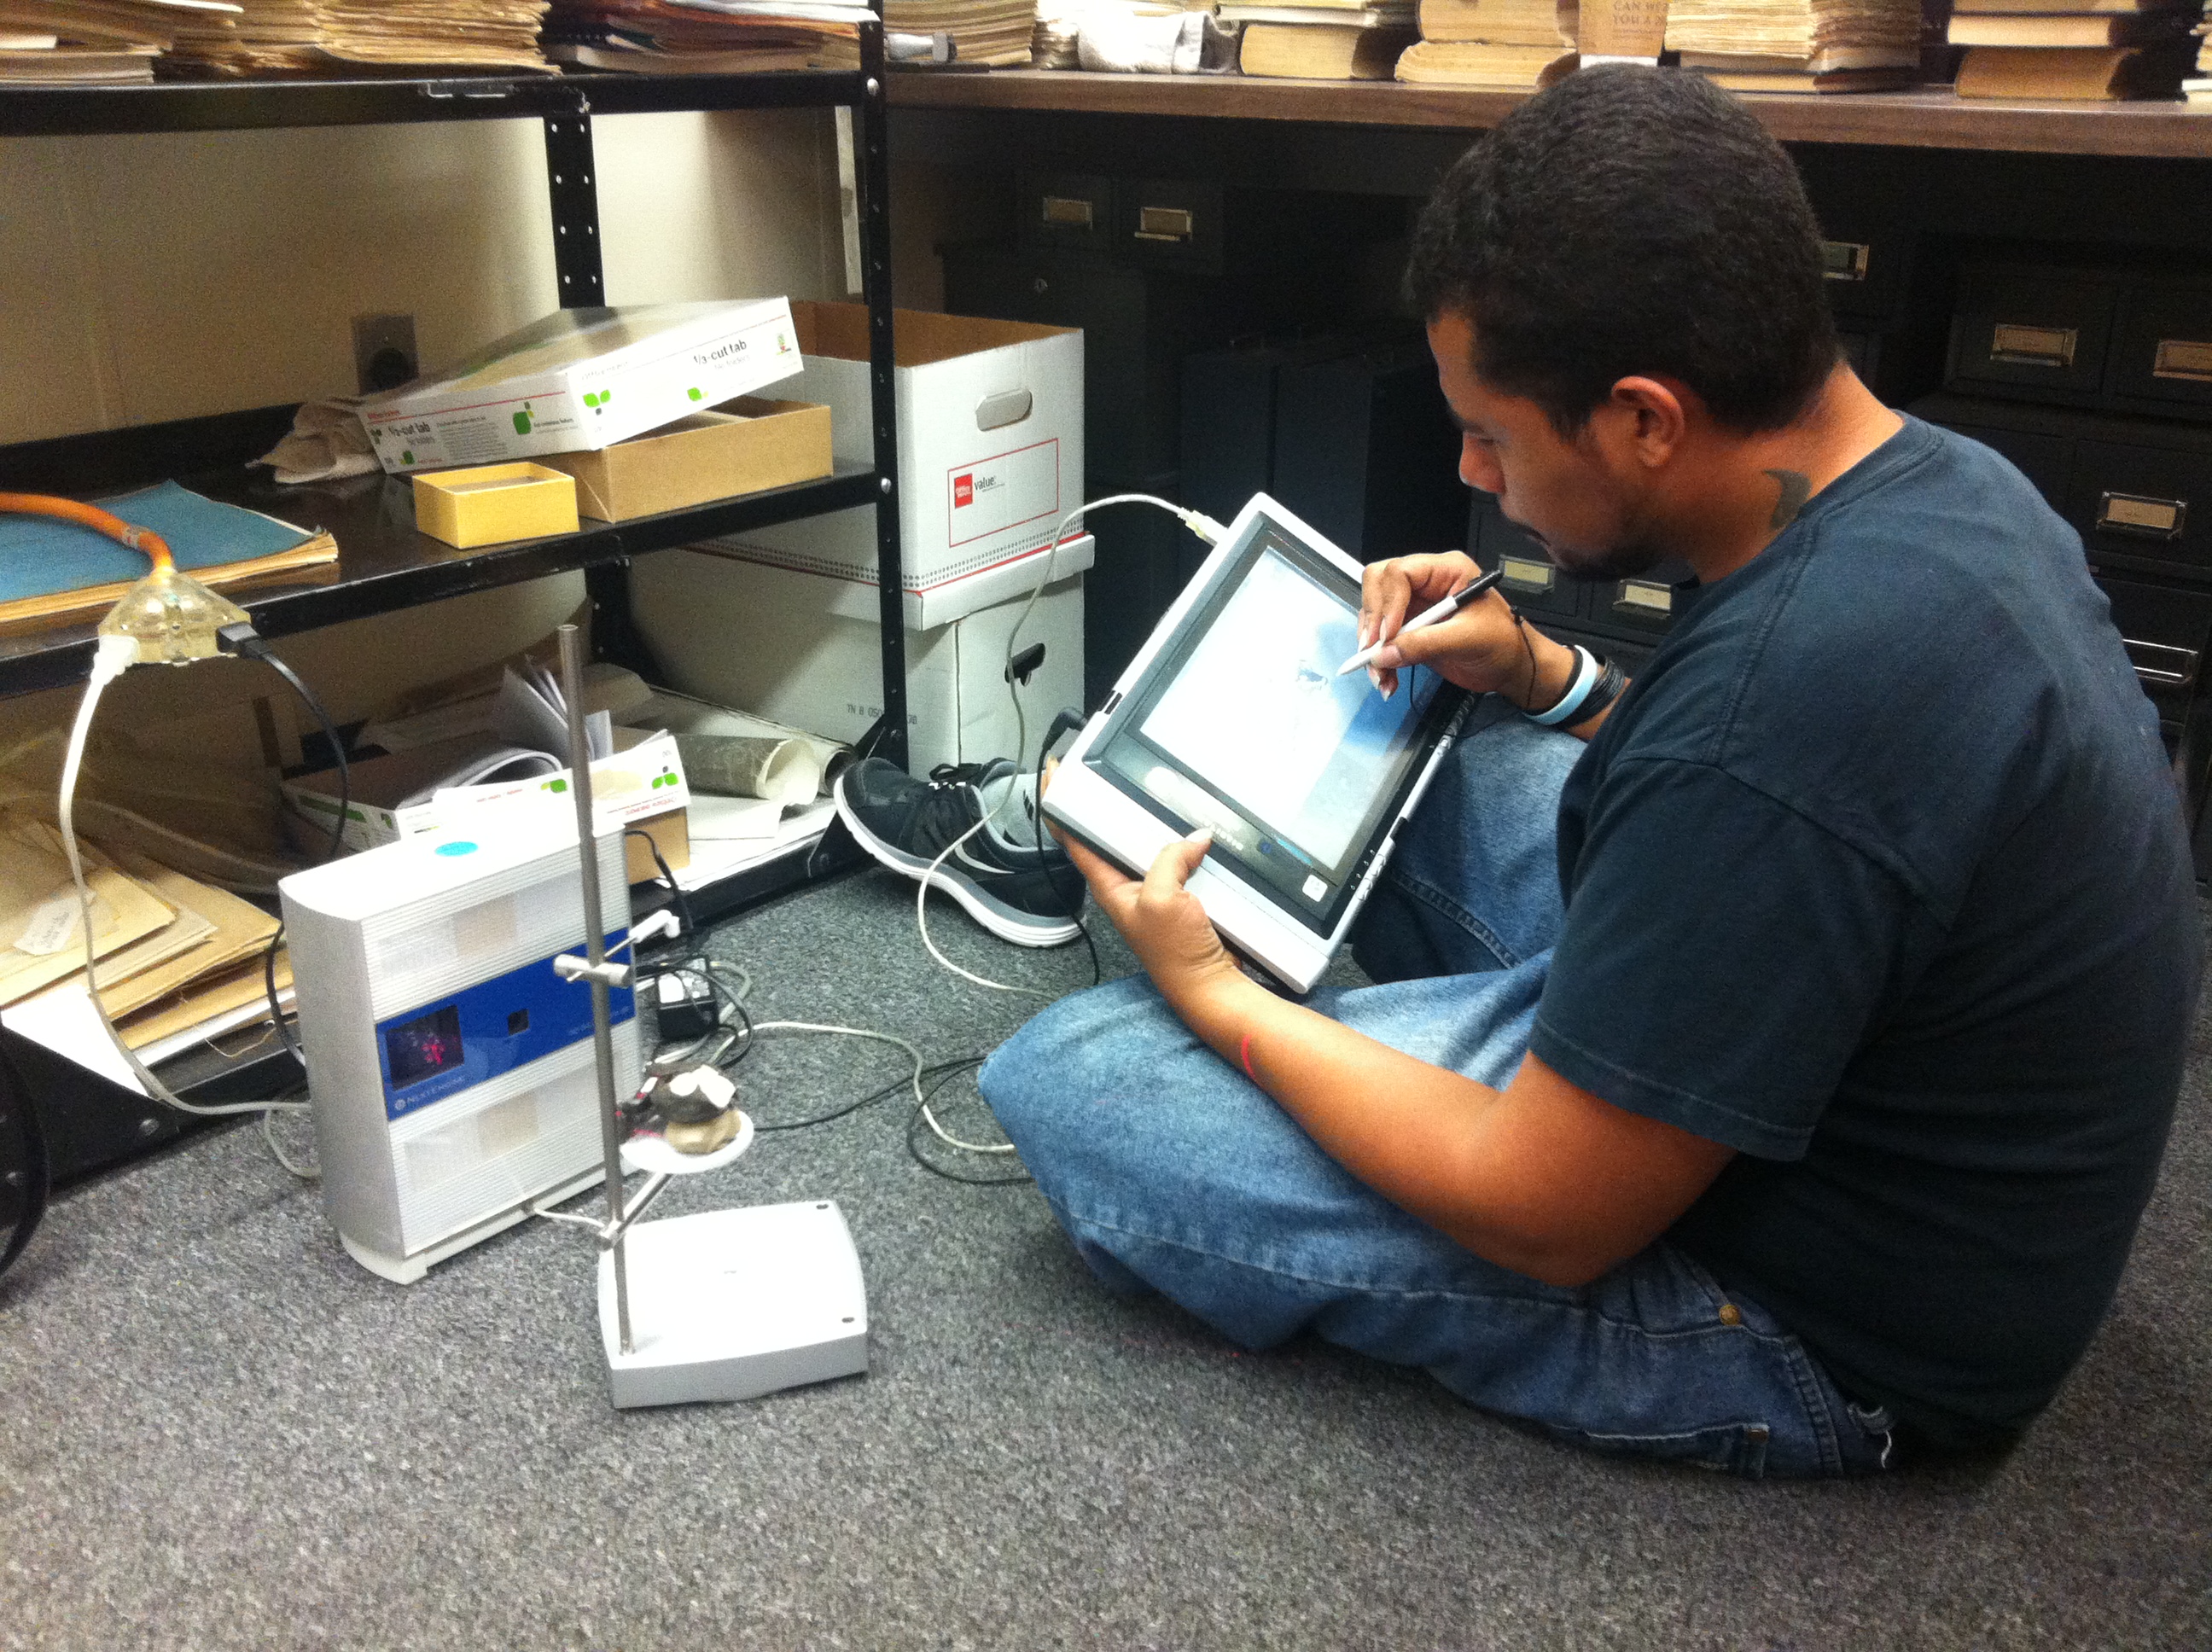
 Spring-Summer museum intern Justy Alicea 3D scanning a fossil turtle skull.
- Work in progress surface scan of fossil turtle.
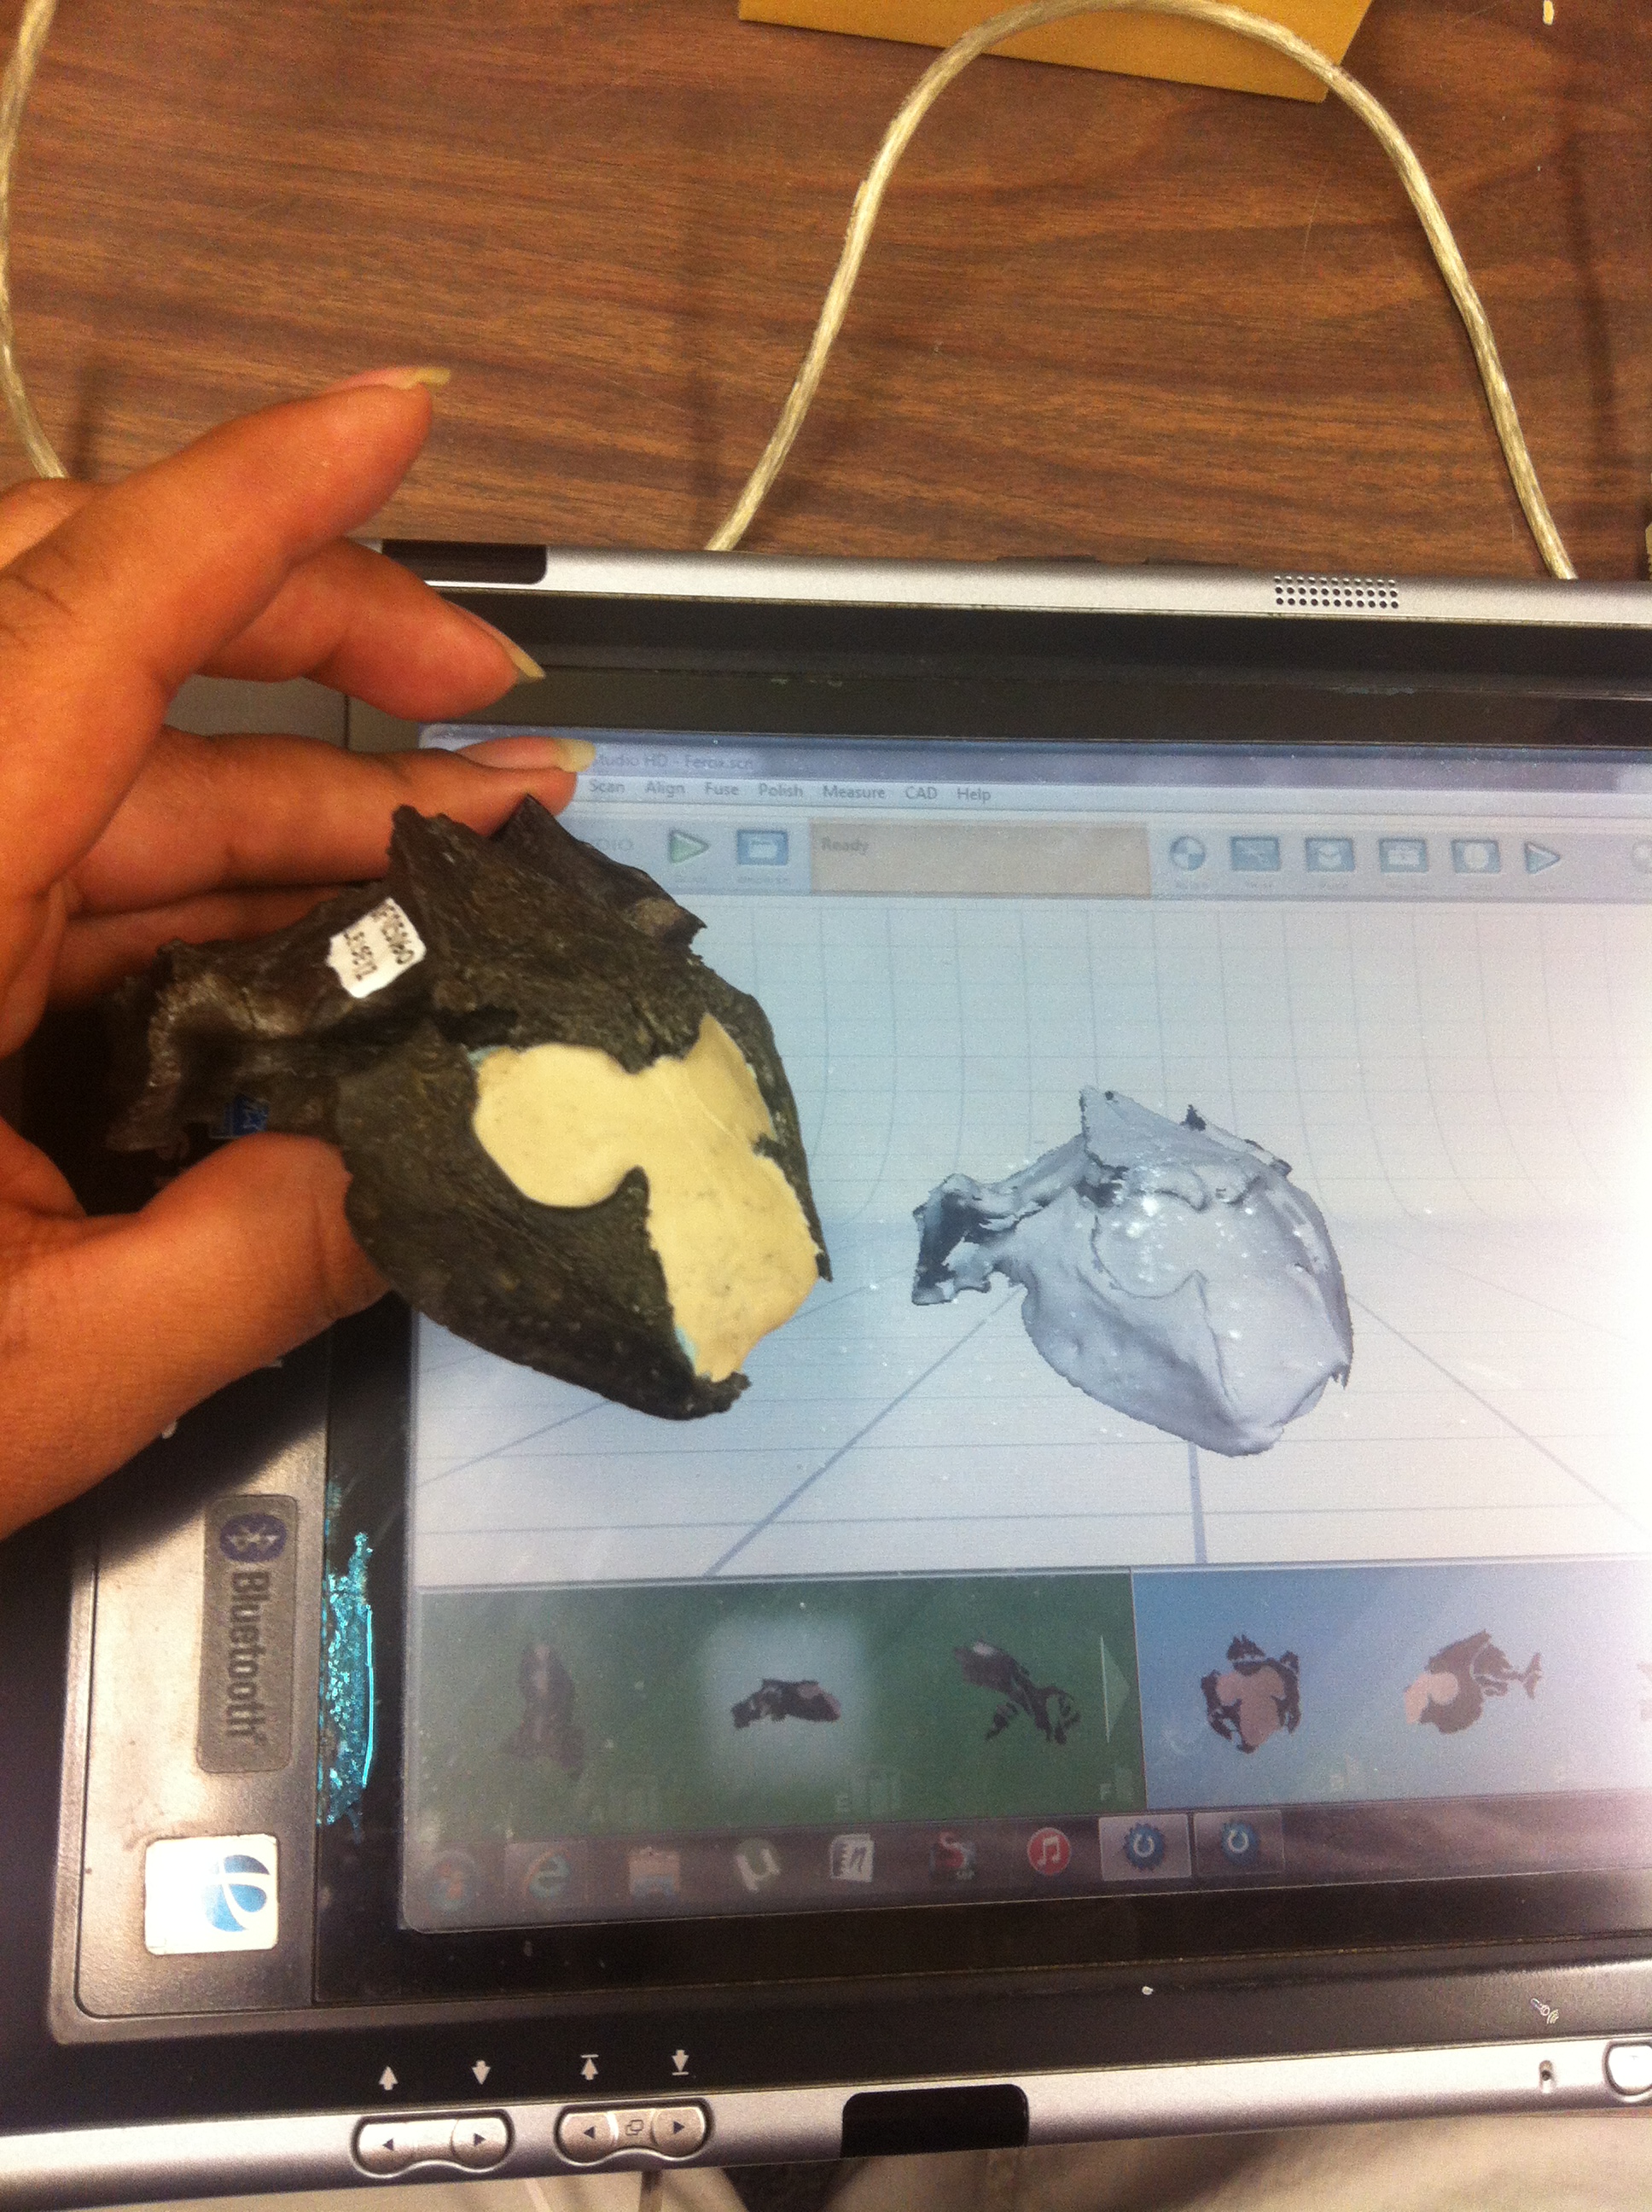
While we do that, I am also working on finishing up my first surface scan. Earlier in the week I finished training using the NextEngine surface scanner by scanning the turtle skull Im working on. A surface scanner is different than a CT scanner in that the surface scanner only captures surface data. It cannot see through a specimen. Simply put, you are making a digital shell or cast of an object. The scanner contains both lasers and cameras. As the scanner takes a picture, it uses its lasers to scan the surface of the object and gauge distance, giving it the ability to create a 3 dimensional model. It repeats the process at different angles giving you a highly accurate representation of the object. The scan itself is pretty easy to set up and although the process for stitching and trimming the individual scans isn’t difficult, it is time consuming.
It’s exciting to add these powerful methods to my toolkit and be able to produce these impressive scientific images. Knowing how to do this now will give me a significant head start over my future classmates when entering graduate school .