One of the hardest parts of working from home these days is being separated from hands-on projects in the lab and collections. Museum people want to have their stuff nearby.
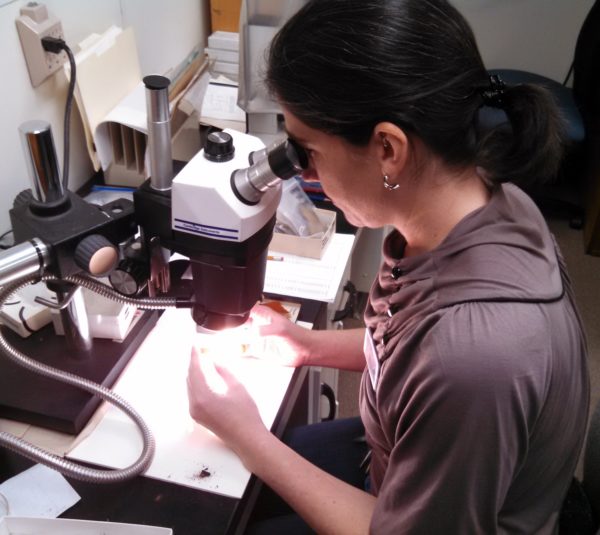
As the manager of the Ceramic Tech Lab, I normally have many different projects going on: identifying and sorting pottery from our collections, testing clays from samples collected in the field, or conducting elemental analysis to learn where pottery was made. Fortunately, I found a way to satisfy my need to take a break from the computer every once in a while. During this time away from campus, I’ve decided to replicate different kinds of Florida pottery, testing the materials, skills, and recipes used in the past. Follow along as I show you the methods used to make various common archaeological pottery types, starting with the oldest. As the grand finale, I will fill up the fire pit and see if they survive the flames intact!
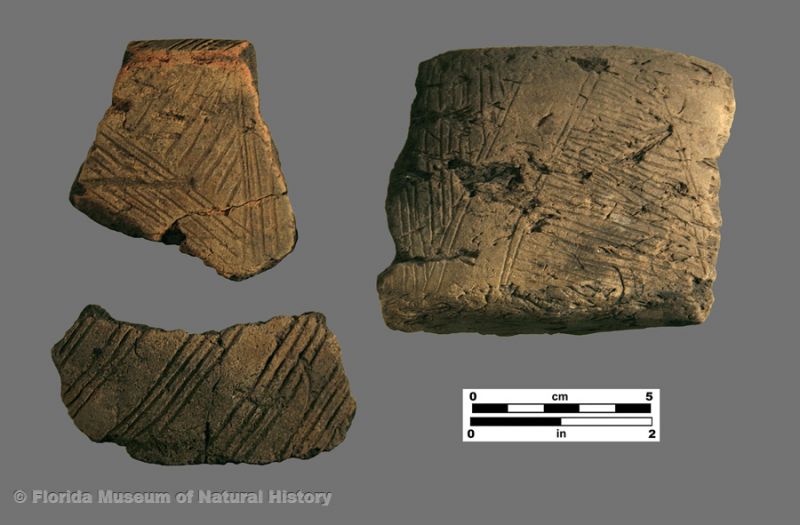
Orange Fiber Tempered Pottery (ca. 4500 years old)
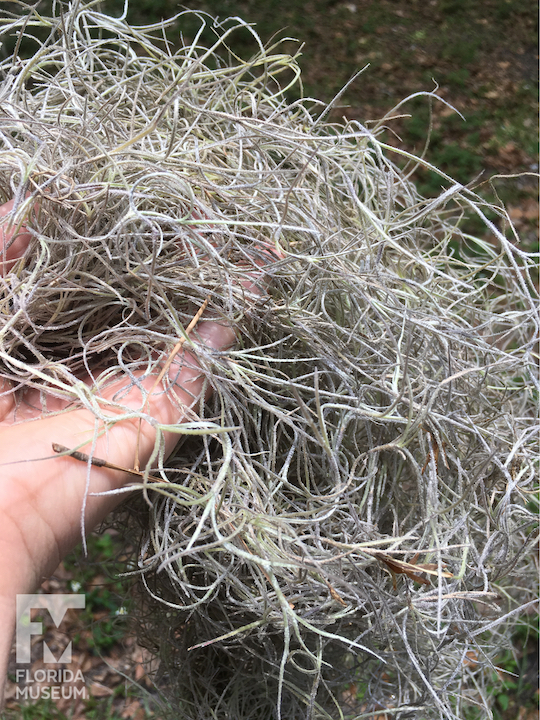
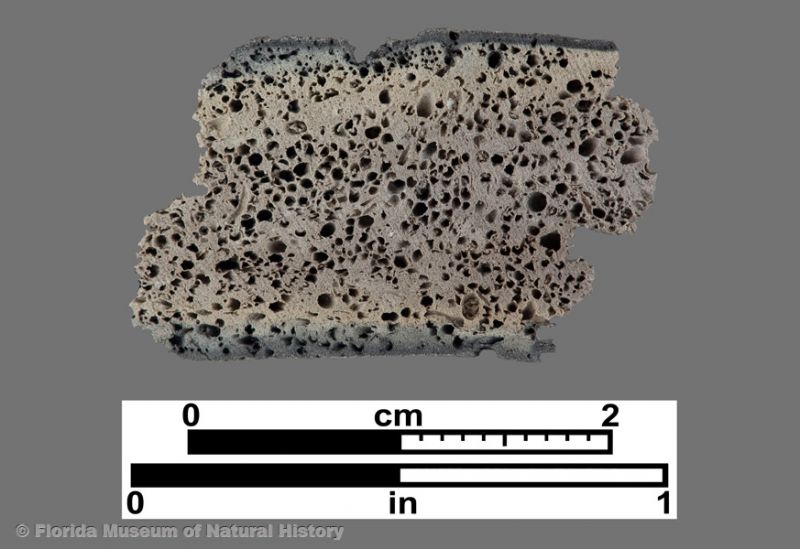
Fiber tempered pottery was the earliest type to be made in what is now Florida. It has a distinctive special ingredient, Spanish moss (Tillandsia usneoides). The stringy moss forms a scaffolding inside the wet clay, making it possible to build up vessel walls in sections without using coils. As it is fired, the organic moss burns away, leaving tiny tunnels in the pottery. This means that a fairly chunky pot will still end up lightweight. The air channels help with even heating for use in cooking. A feat of engineering, right?
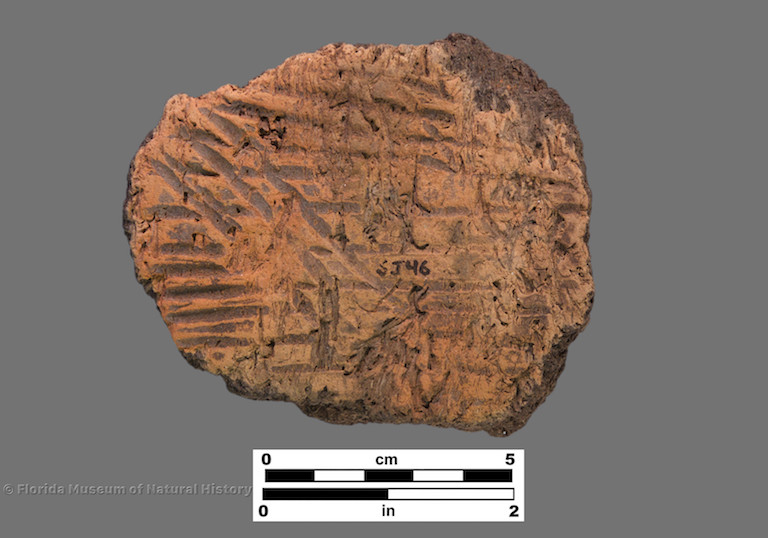
I decided to start my trials with a basic bowl. Most Orange Period pottery is very fragmentary, so we don’t have a good idea about all the vessel shapes people may have made. We can tell that some were large open bowls, and one in our collection is squarish and compartmented, with a divider down the middle of the interior. The fragments of pottery, which we archaeologists call sherds, are usually pretty thick. That is somewhat unavoidable when there are big hunks of plant matter inside.
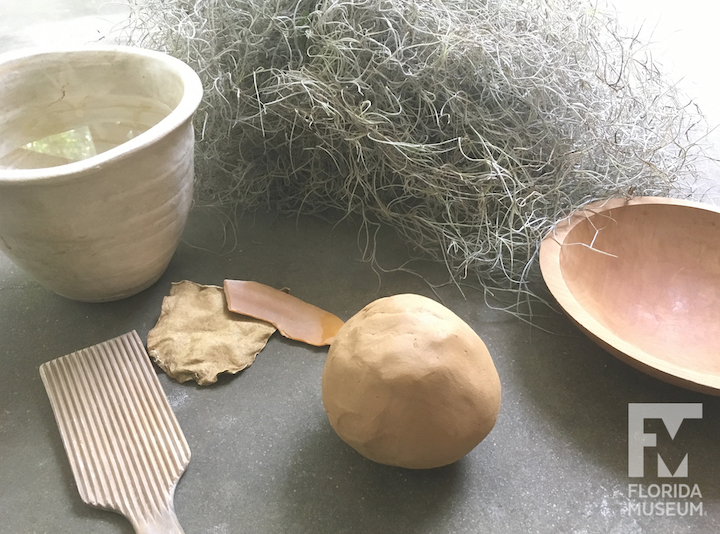
The clay I chose is a local Alachua County clay from a former brick factory, left over from a sample we collected last year. It is tan, fairly sandy and “short.” This means that it doesn’t hold together particularly well, tending to form cracks. Nevertheless, I decided to try it out, because the method of making fiber tempered pottery is very forgiving. I would not need to form coils or complex shapes, which require a more plastic clay.
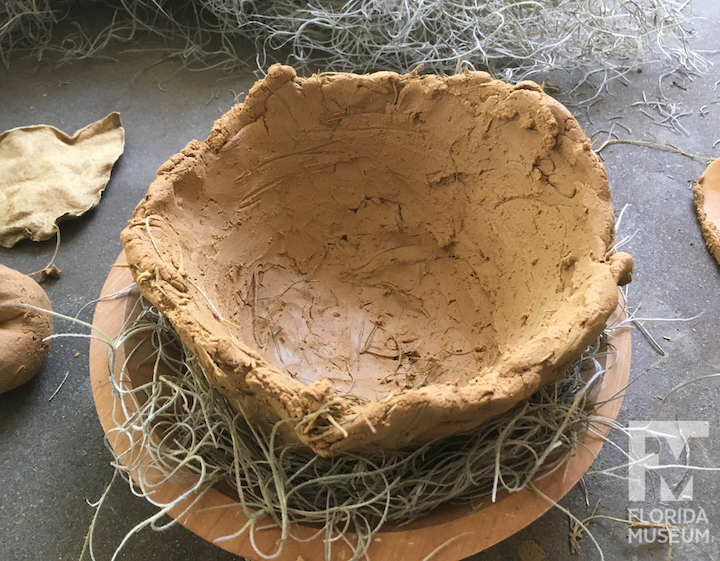
My very basic toolkit included: a jar of water, a clam shell, a piece of leather chamois, a carved wooden paddle (it’s actually a vintage butter paddle) that creates longitudinal lines, which we call “simple stamping,” and a wooden bowl to cradle the round bottomed pot. A broken vessel base could also have been used.
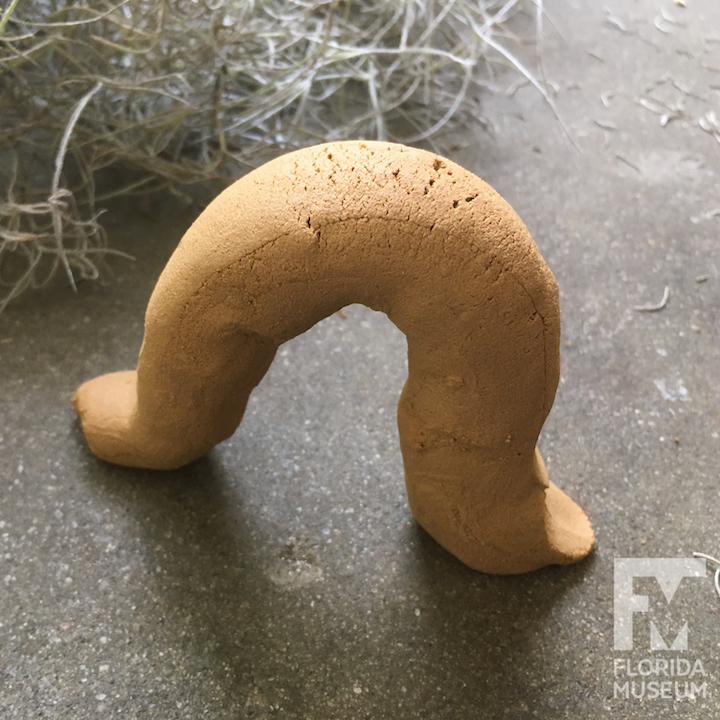
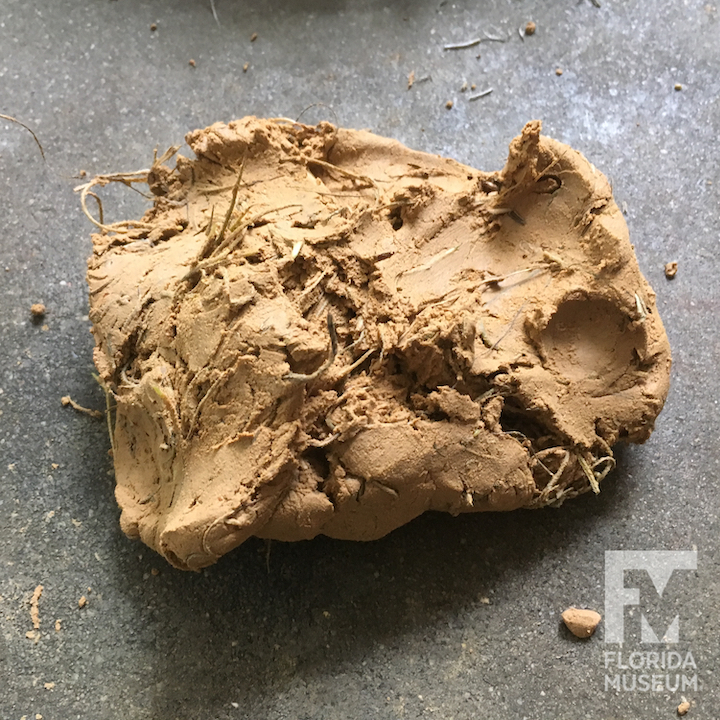
I broke some Spanish moss (ubiquitous here in Florida) into shorter lengths, and kneaded it into the clay until it was evenly mixed. Then I took half the clay and began making a pinch pot for the base, thinning the ball to create a bowl shape. I added slabs of clay around the walls, smoothing them well, to raise up the sides. At this point, it looked pretty sad.
Once I had the basic shape I wanted, I used the smooth side of the paddle to gently tamp down the rim. This compression is important to remove air pockets and ensure all the pieces are tightly joined. I then used the shell fragment as a scraper to smooth away lumps on the interior of the pot. The damp chamois helped to smooth and compress the interior and rim.
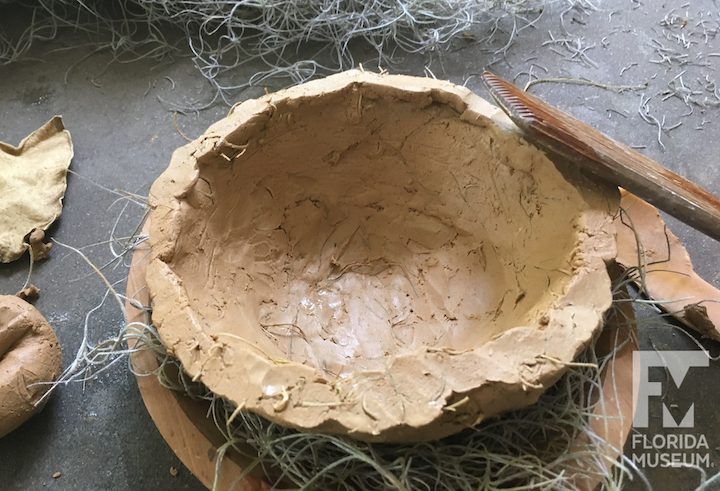
I still hadn’t done anything to the outside, but at this point the pot needed to dry a bit so it wouldn’t lose its shape when I turned it upside down. I covered it with a cloth and set it in a shady, still place to firm up for a few hours.
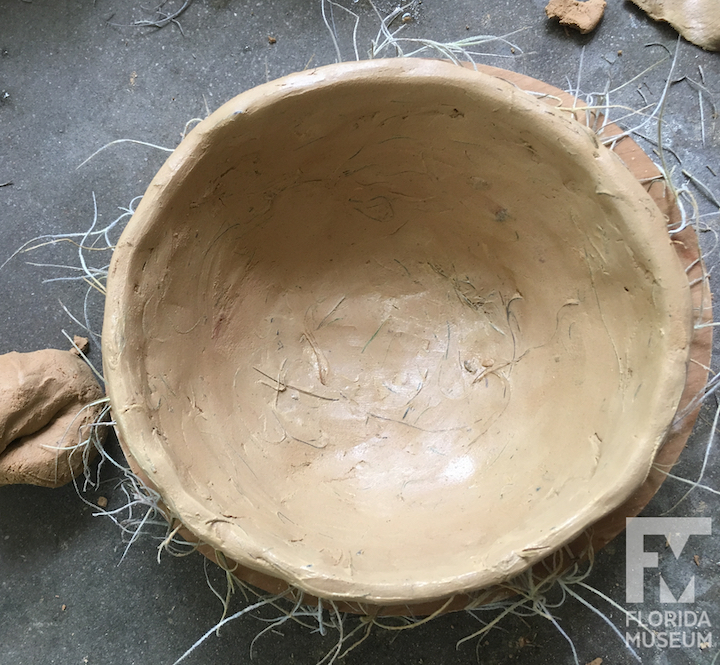
When I came back, I used the clam shell scraper on the outside to remove lumps, and then smoothed with the chamois. Using the flat side of the paddle with my hand inside, I whacked it evenly around to smooth it out further and compress the clay. I finished by whacking the exterior using the carved side of the paddle to make the simple stamped impressions.
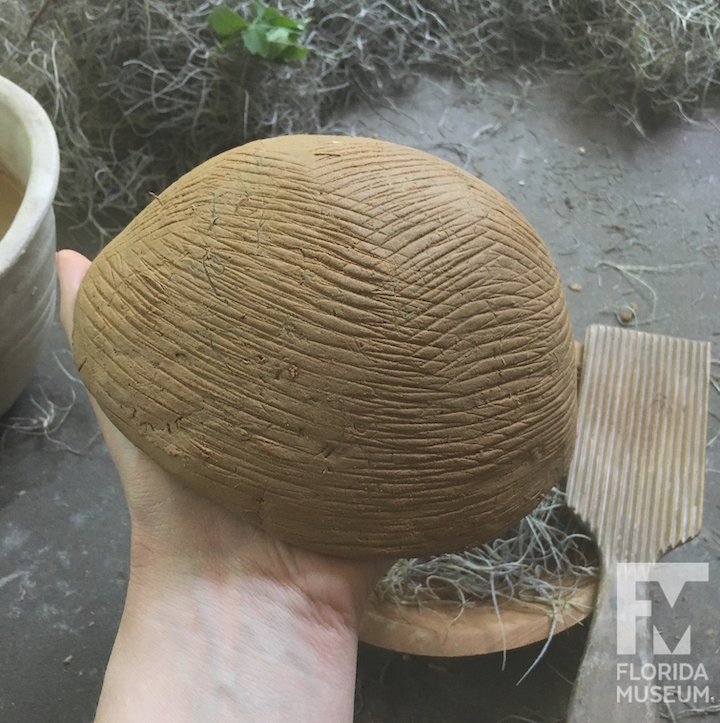
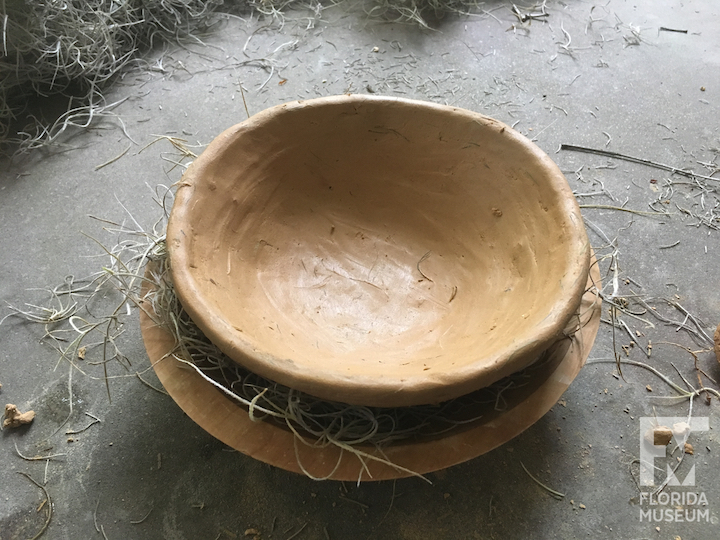
Now the pot is set aside to dry slowly, in preparation for firing. From start to finish, making this expedient but hopefully functional bowl took about 45 minutes.