How to Prepare Your Computer for Service
Most museum users are already aware of the Florida Museum’s Network Storage Policy, which requires museum data to be stored on approved UF or Museum information systems. However, there are instances where a user’s data may be inadvertently stored locally, and some applications may store configuration files locally. These locally stored data are not necessarily preserved when a computer is serviced or upgraded, so it is important to check your computer prior to service. This is particularly important for OS upgrades which involve erasure of the computer and a fresh OS install.
As a courtesy to our end users OMT provides this guide describing where data may typically be stored on the local disk and how to move the data to approved storage.
What is Approved Storage?
Approved storage is fully articulated in the Museum’s Network Storage Policy. The short explanation is either storage from UF’s data centers or UF’s contracted cloud vendors.
OMT is happy to answer any questions you have on how to use these services, but it is your responsibility to ensure your data is on approved storage prior to the computer being serviced.
What Do I Need to Check?
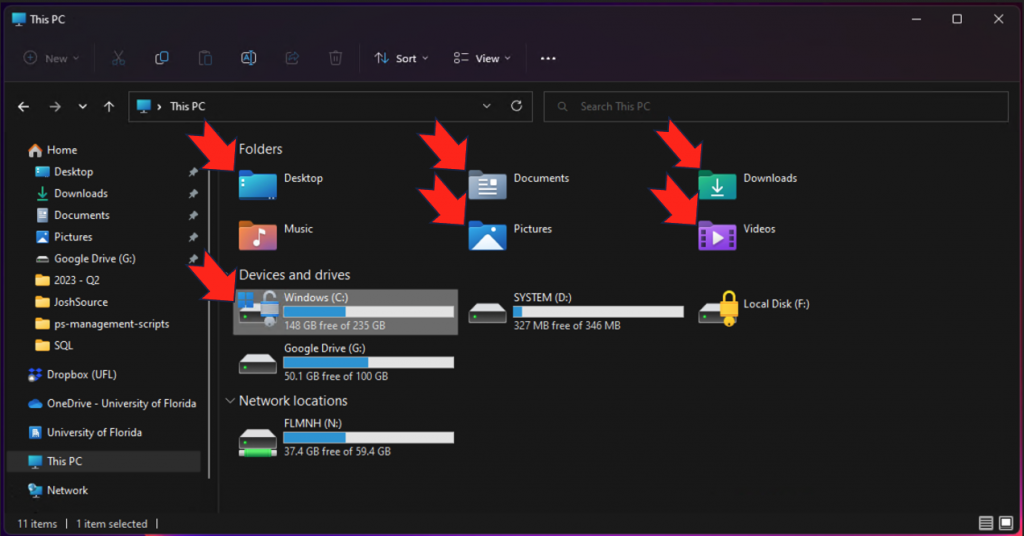
Check Your Local Folders
On Windows
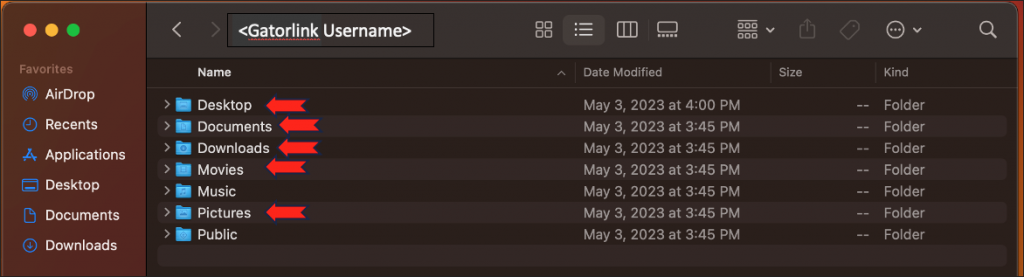
Mac OS
Check Your Bookmark Export
Browsers store bookmarks locally and need to be exported to be able to import them again on the new OS installation.
Exporting Bookmarks
Chrome
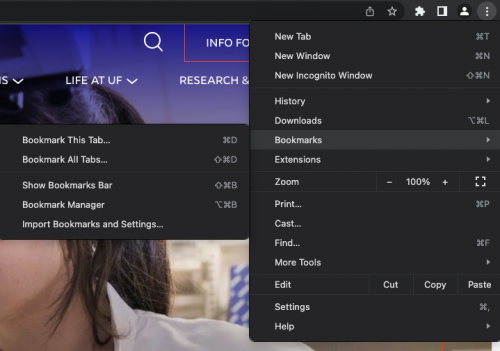
- Click on the kebab menu or vertical three-dot menu in the top right hand corner of the browser (See figure 1).
- Hover over Bookmarks.
- Click Bookmark Manager.
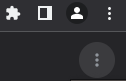
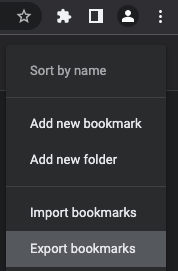
- Click on the kebab menu on the top right hand of the bookmark window (see figure 2).
- Click Export bookmarks (see figure 3).
- When the explorer window opens, select a location on approved storage resource and click OK.
To import your bookmarks follow the same preceding steps and select ‘Import bookmarks’ instead of ‘Export bookmarks’ and select the file created when the bookmarks were exported.
Edge
- Bookmarks are called Favorites in Edge.
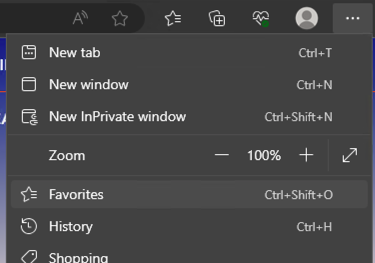
- Select the meatball menu or horizontal three-dot menu in the top right hand corner of the browser (see figure 4).
- Click on Favorites.
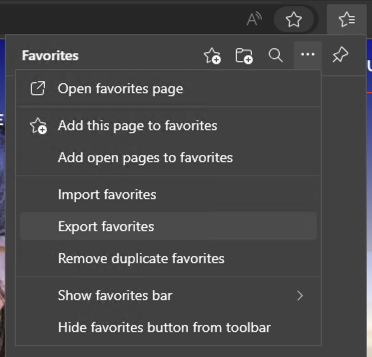
- In the Favorites menu that opens select the meatball menu (see figure 5).
- Click on Export favorites
- When the explorer window opens, select a location on approved storage resource and click OK.
To import your bookmarks follow the same preceding steps and select ‘Import bookmarks’ instead of ‘Export bookmarks’ and select the file created when the bookmarks were exported.
Firefox
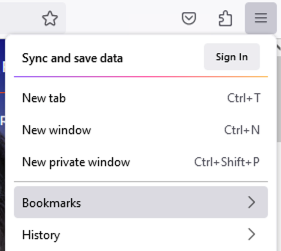
- Click the hamburger menu, the three lines stacked on top of each other, in the top right hand corner of the browser (see figure 6).
- Click ‘Bookmarks’
- Click ‘Manage Bookmarks’ at the bottom of the new panel (see figure 7).
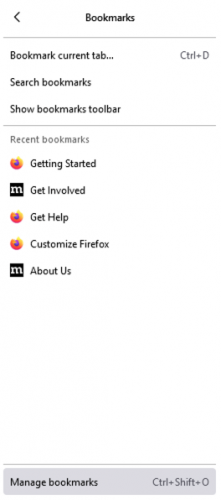
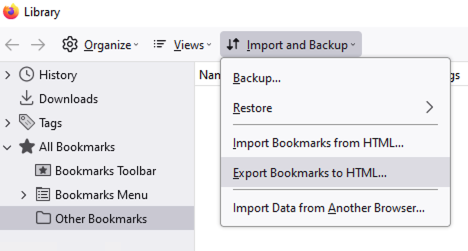
- In the window that opens click the ‘Import and Backup’ button (see figure 8).
- Click on ‘Export Bookmarks to HTML…’
- When the explorer window opens, select a location on approved storage resource and click ‘Save’.
To import your bookmarks follow the same preceding steps and select ‘Import bookmarks from HTML…’ instead of ‘Export bookmarks to HTML…’ and select the file created when the bookmarks were exported.
Safari
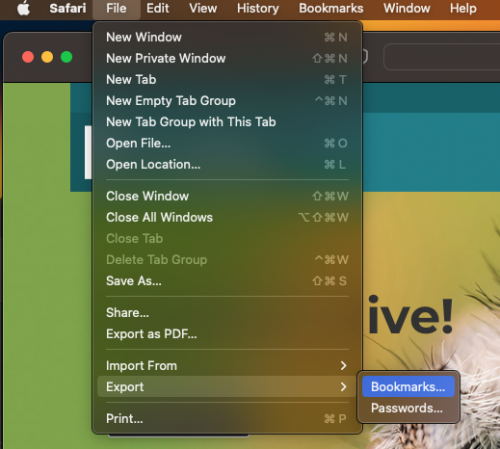
- In the Safari app on your Mac select ‘File’ (see figure 9).
- Hover over ‘Export’
- Click on ‘Bookmarks…’
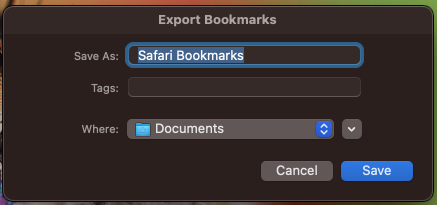
- Select a location on approved storage resource and click ‘Save’.
To import your bookmarks follow the same preceding steps and select ‘Import from’ followed by ‘Bookmarks HTML File’ instead of ‘Export’ and select the file created when the bookmarks were exported.
Check for Specialized Settings
Settings for any specialized software or hardware that are connected to the computer such as:
- ~/.RData
- .ssh
- .git