I‘ve had some questions posed to me recently about how and why pottery was mended in the past, so here’s a brief overview of the most common methods.
If you’re looking for how to glue your pottery back together now, you can find our guide for that here.
Say you’ve made a pot and fired it. If your pot experiences a quick temperature change during that process, the thermal stress can cause a dunting crack to develop. This is a particular kind of crack that develops during or immediately after firing. It starts at the rim and grows downward. It often starts out small, and your first inclination may be to think, “hey, no big deal,” but over time that crack will grow until the pot is ruined. The solution is to close the crack and stop its propagation. To do that, people would drill holes on either side of the crack, using a bone or stone drill, lash it together with sinew or twine, and seal the crack with resin. We have many examples of vessels with this kind of repair in our collections, made by Indigenous people over thousands of years.
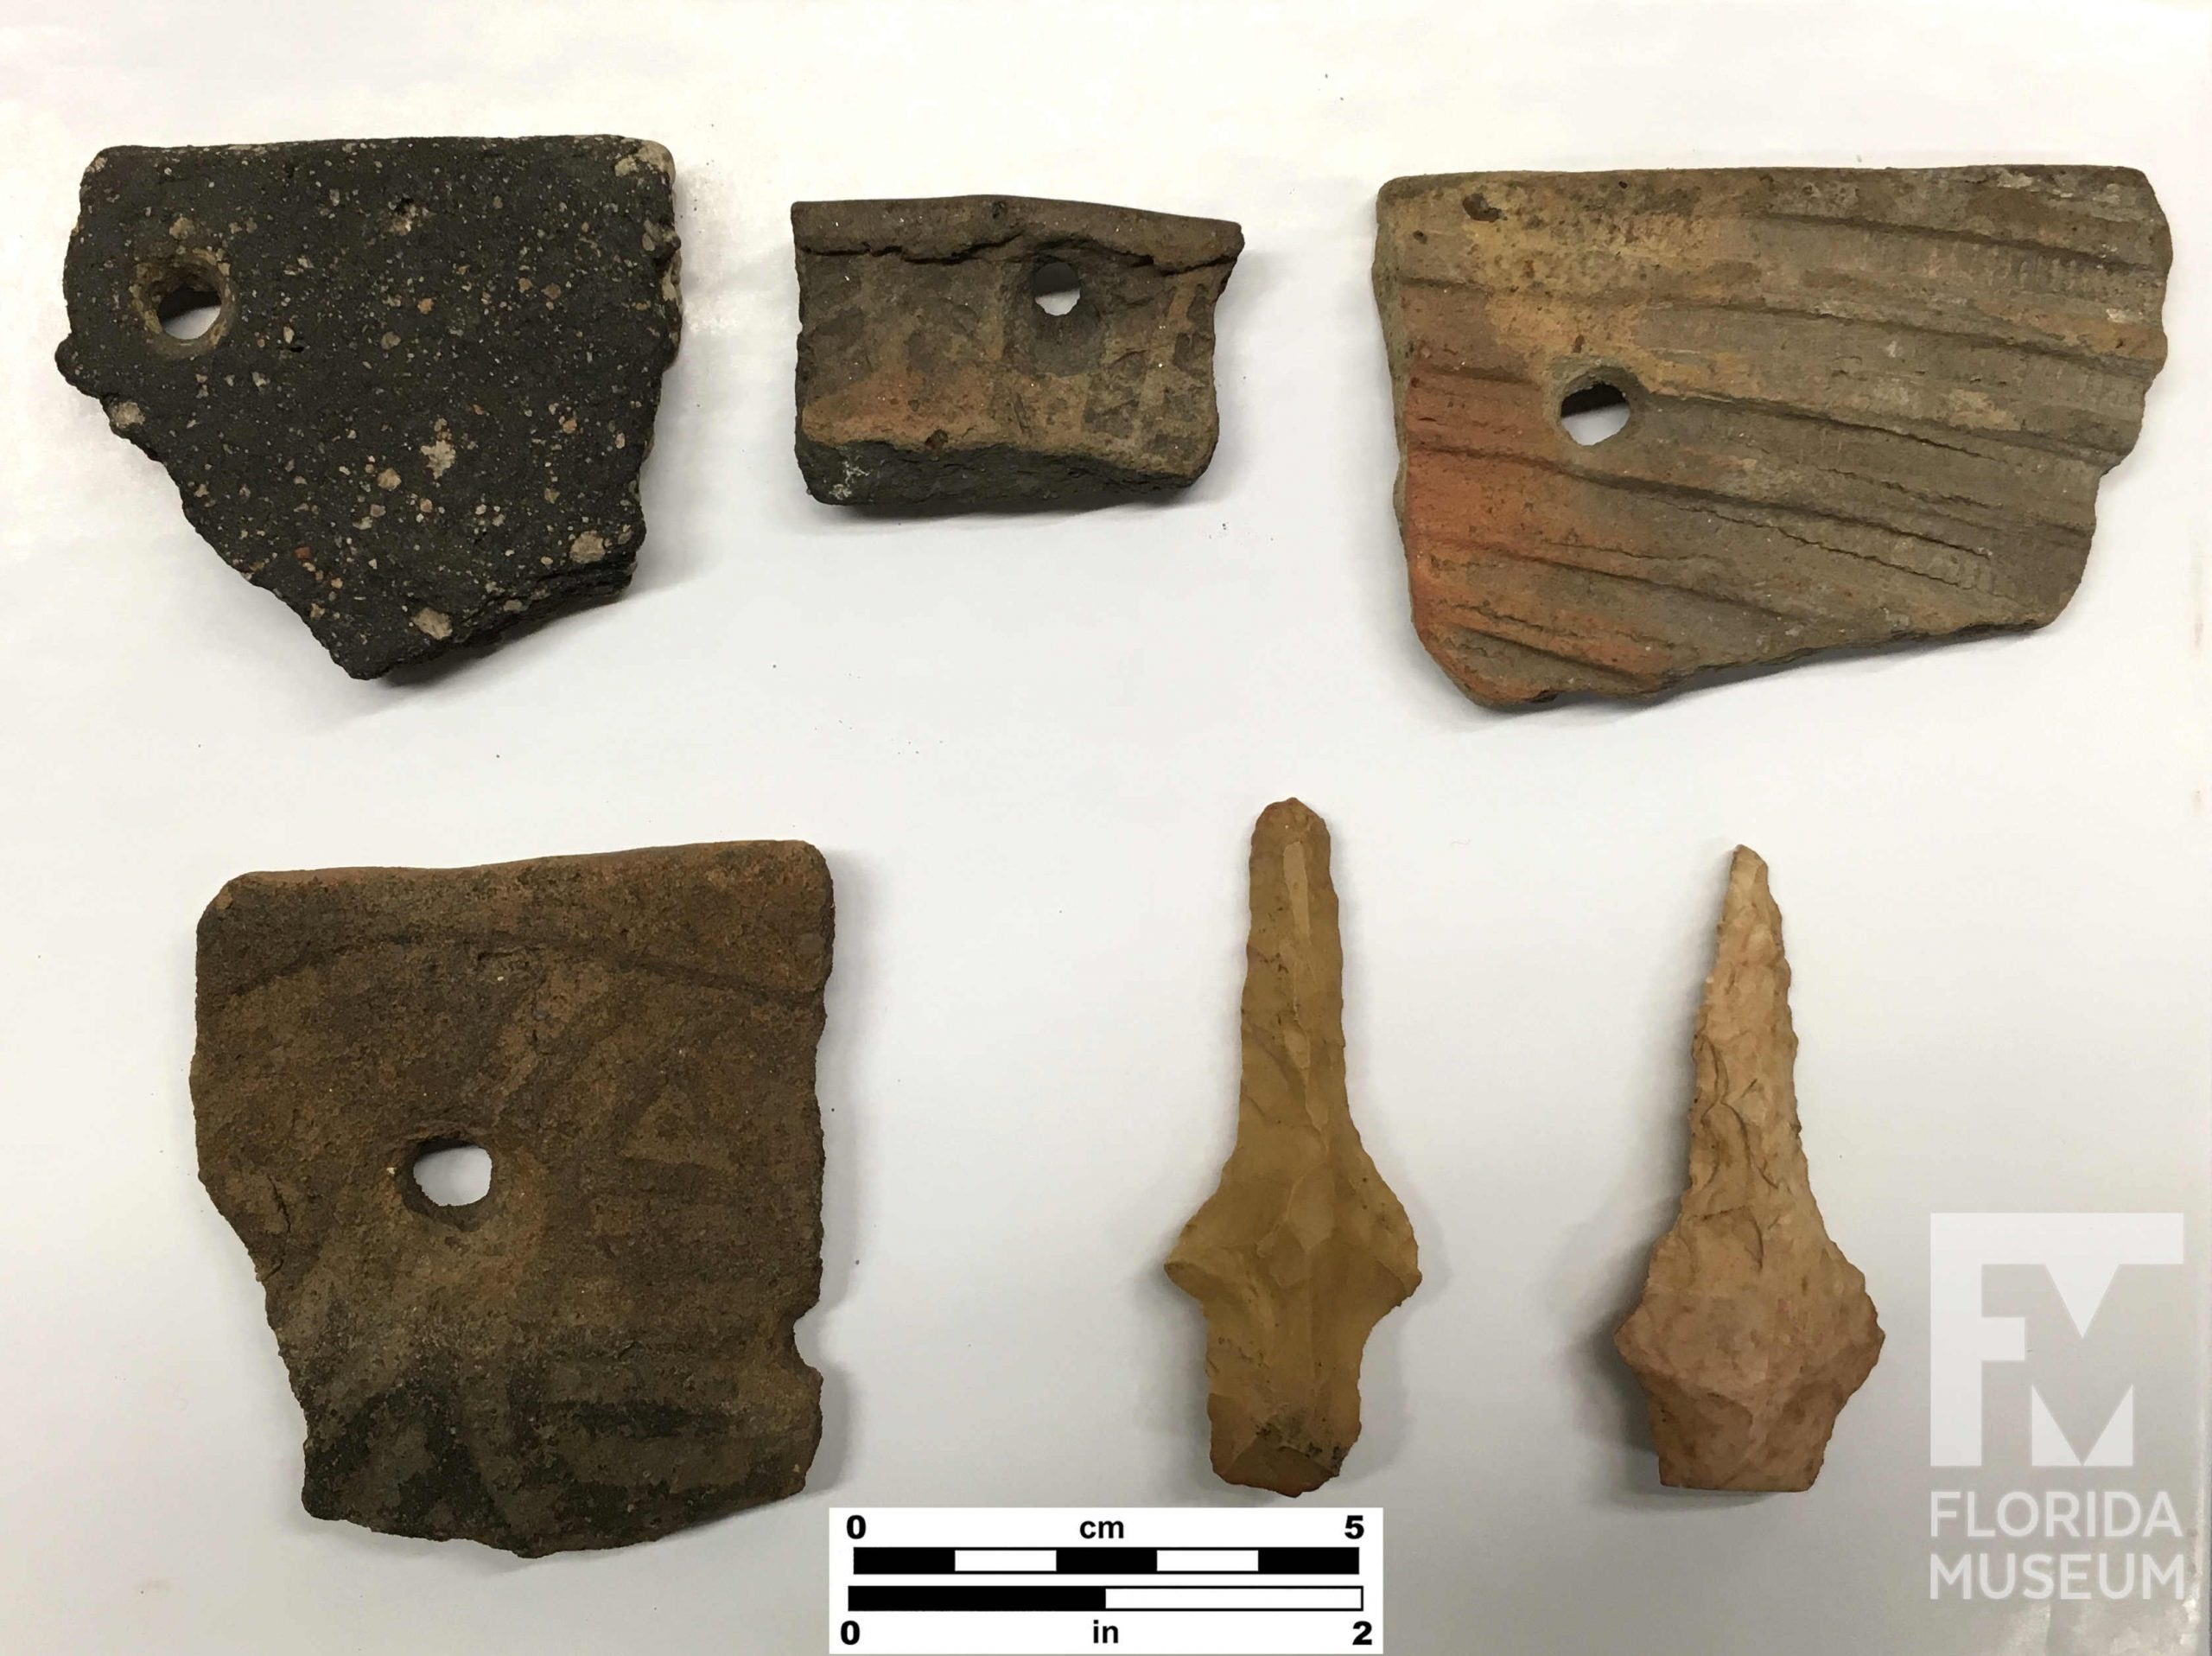
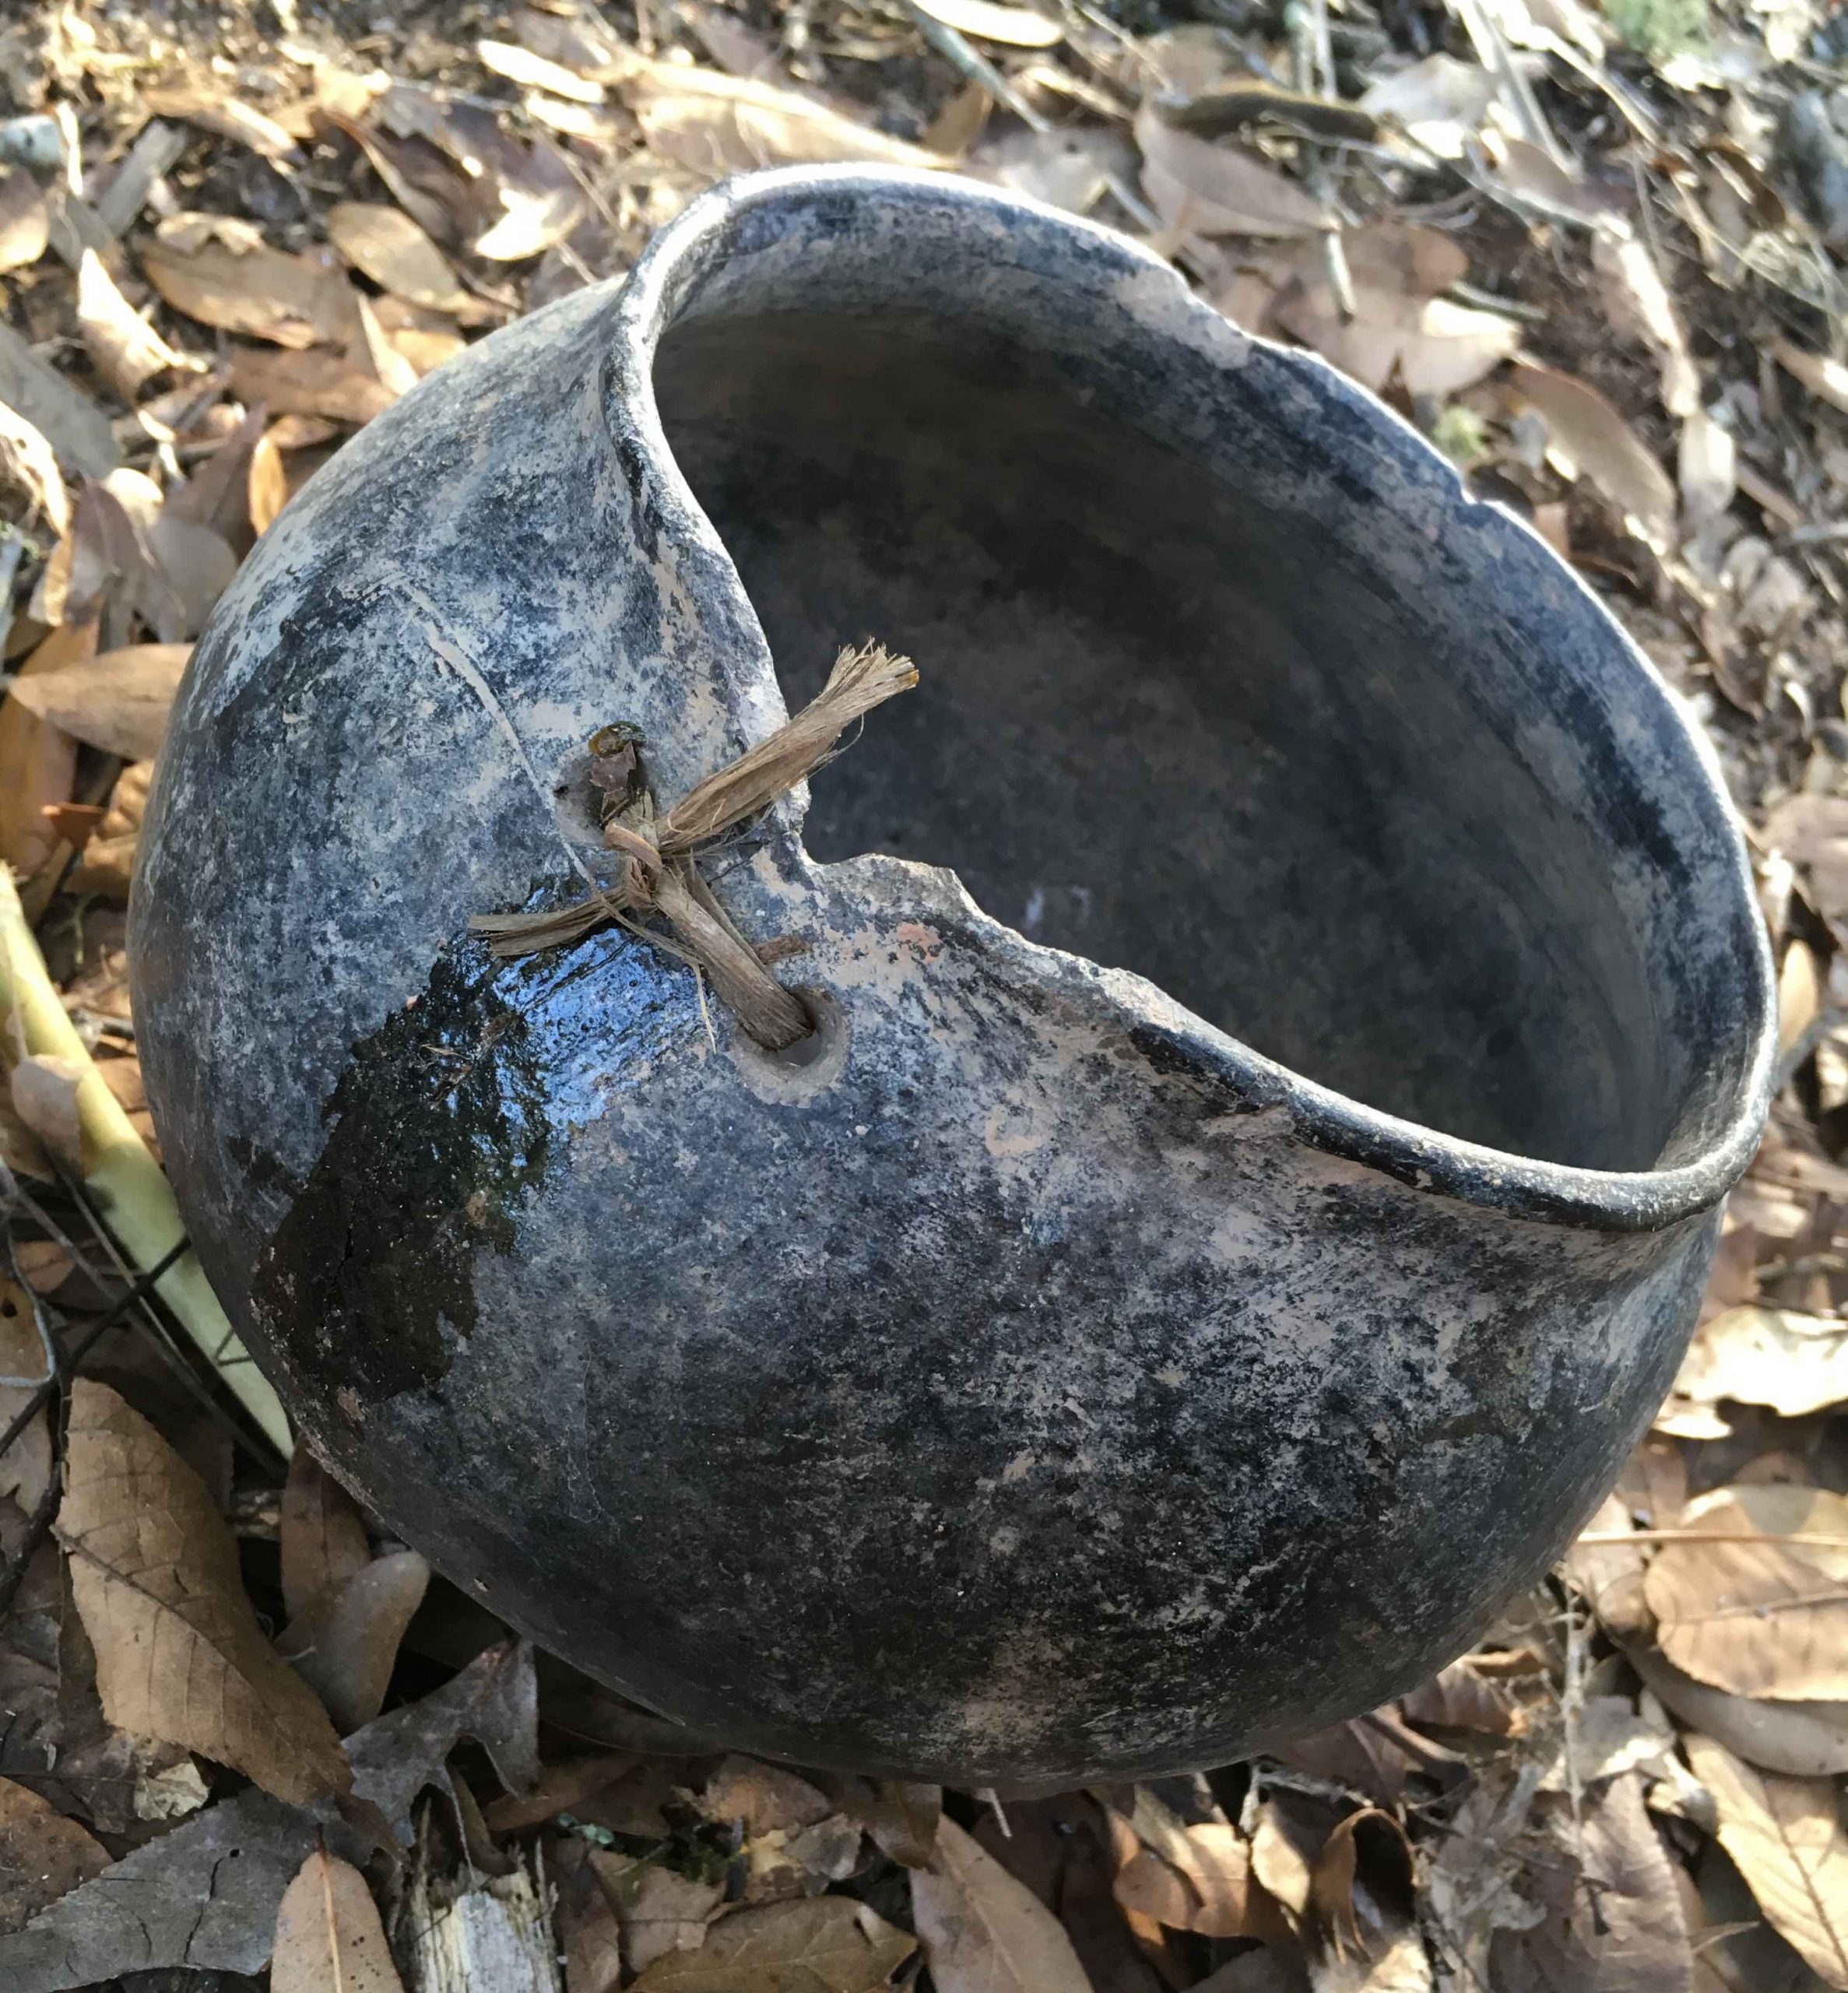
Here’s a modern replica made by Keith Turnstone that he repaired and has used for several years. A crack near the rim doesn’t impact a vessel’s ability to hold water and be near a fire, but what if your pot broke into pieces? If there was a more catastrophic break, then in most cases that spelled the end of that particular vessel’s use life. While it could be mended with lashing, it likely couldn’t hold water or withstand high temperatures anymore. In the archaeological record, mend holes found lower down on a vessel or parallel to the rim are much less common than dunting crack repairs.
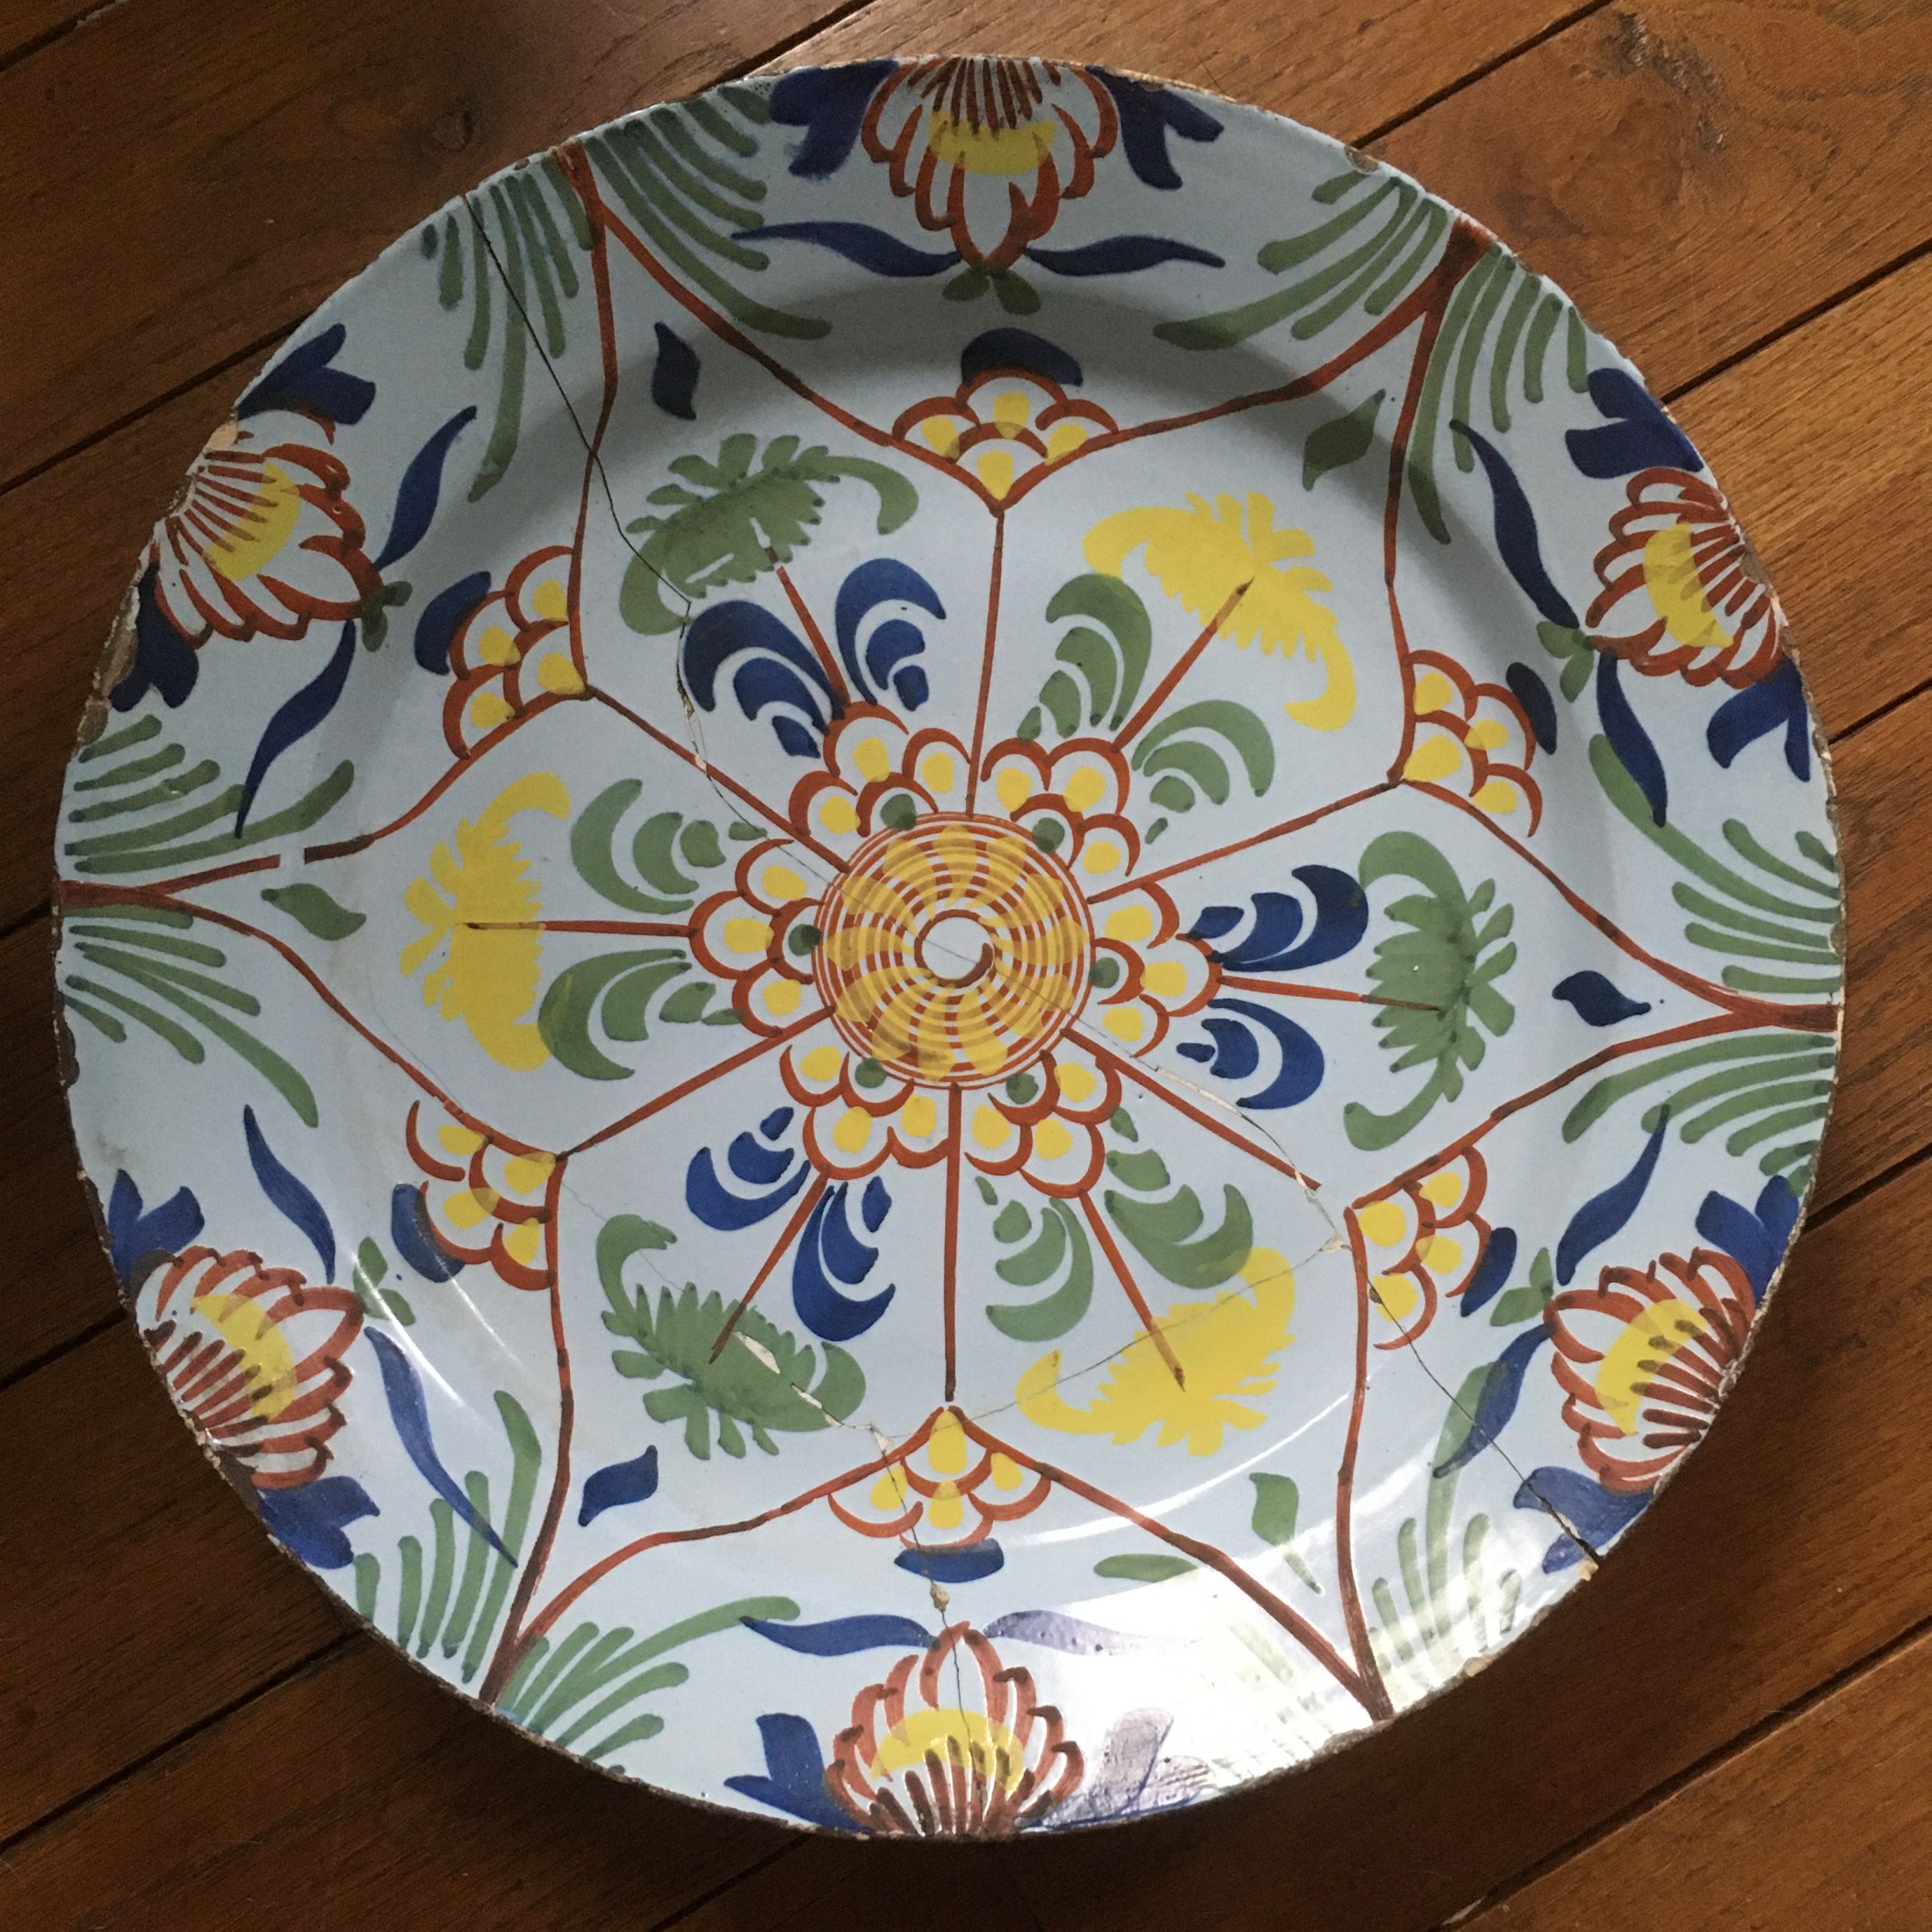
However, during the historic period, repairs of this type became more common, especially as expensive decorative wares became markers of social status. The availability of metal as a binder made repairs smaller and less visible. This large tin-enameled charger was broken into three large pieces. Rather than drill holes all the way through, the restorer used metal staples on the backside to hold it together. These didn’t come from a staple gun though, first guide holes were drilled partly through the pottery, and then the staple was hammered into these. This method is still used today in some cases.

There are many other ways to repair pots, which may be the topic of future posts.
We grow attached to the pots around us, for their utility, their beauty, or the memories they hold. The desire to care for and repair them is something we share with people in the past.