Trial by fire!
As you may have gathered from earlier posts, I was anxious about the firing, because it is the trickiest part of making pots. There are so many variables involved, only some of which the potter can directly control. I’ve participated in pit firings before, but this was my first solo run.
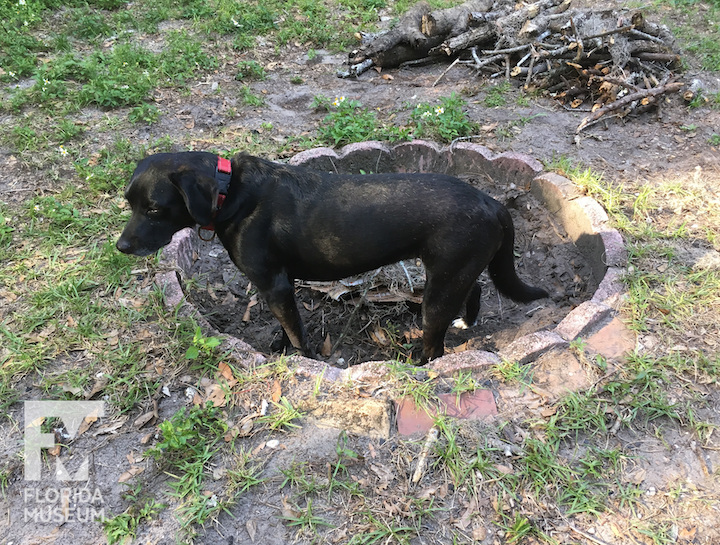
I waited until the conditions were safe for an outdoor fire, and cleared out the fire pit in my yard. I put my dry pots in a sunny spot to get moisture out and begin warming. Clay moves the way it does because it’s made of mineral sheets that slide across one another on a layer of water. That water has to come out to transform clay into a solid pottery object. However, as water vaporizes, it expands. Heating too quickly can cause the steam to build up inside the walls and explode the pot. A potter has to be a mediator between fire and water, finessing water out of the pots and drawing fire in.
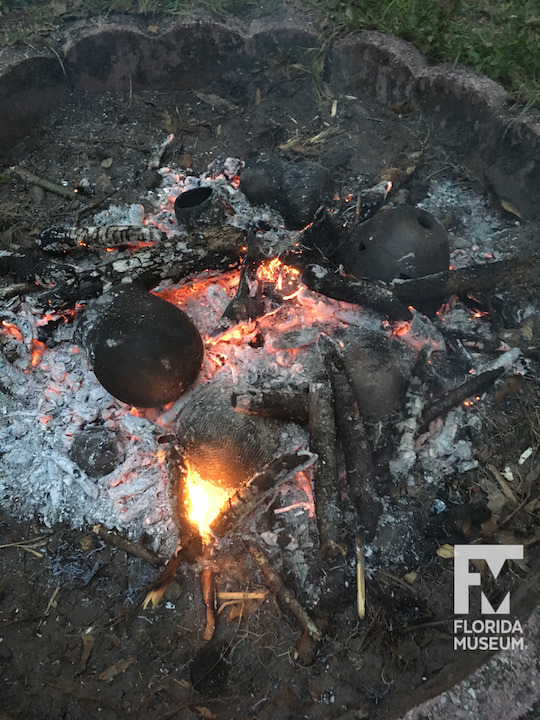
Once the pots had had some time to warm, I laid a fire and let it burn for a while. Unfortunately, I quickly realized that my wood was damper than I thought, which meant that I would have a hard time getting the hot clean fire I had wanted. I began placing the pots around the fire to continue to preheat, rotating them often and gradually moving them closer and closer in. As they get to around the temperature of boiling water, you can sometimes actually see the pots “smoking” as they release water vapor.
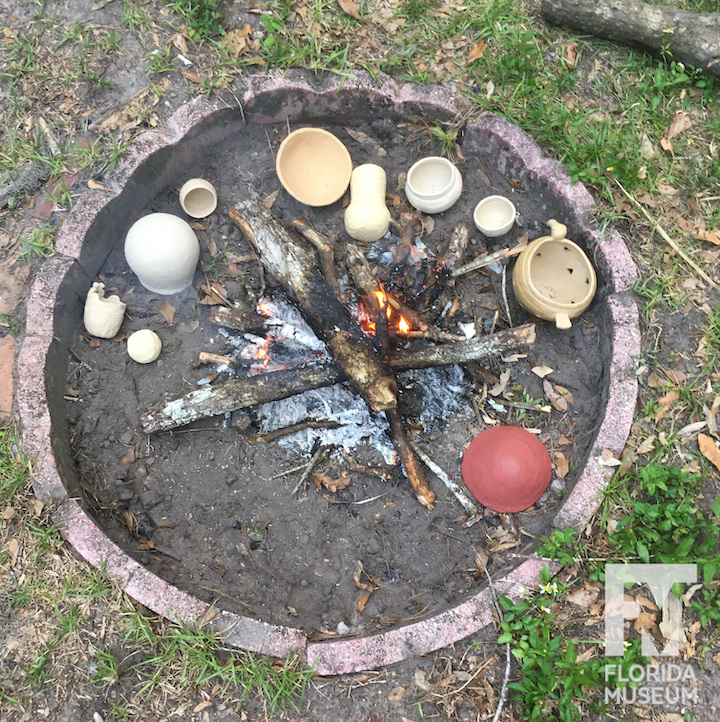
After about an hour, once the wood had burned down to hot coals, I moved the pots directly into the coals. This was the biggest temperature jump for the pots, and the trickiest part of the whole endeavor. My heart sank as I heard a loud plink. At least one pot had just broken, but I couldn’t tell which one, or how badly. I began covering the pile with fresh wood, so that the entire thing would be engulfed in flames, evenly heating the surface of the pots.
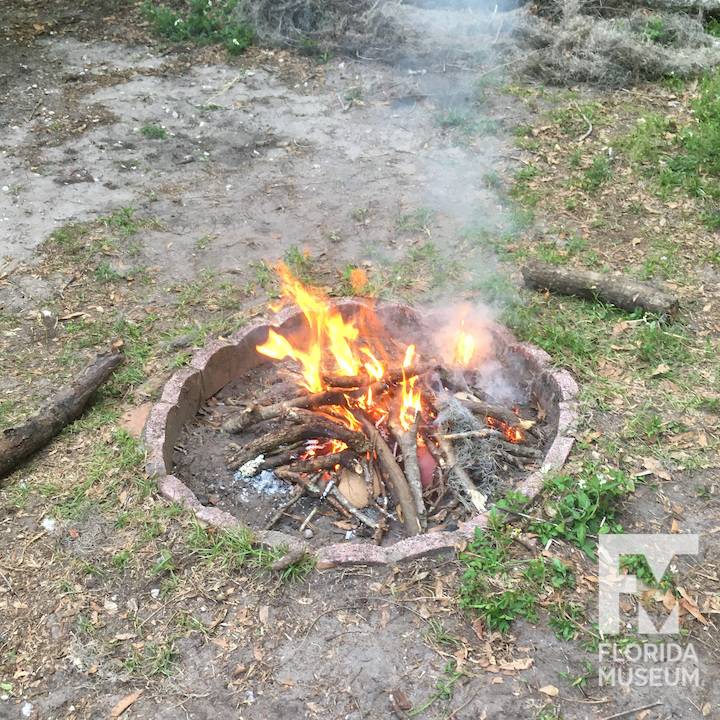
For the next 45 minutes, I stoked different parts of the fire, trying to make sure that every pot was getting enough heat. The damp wood meant that I couldn’t get the fire as hot as I had hoped. We know from experiments that 600 or 700 degrees celsius was the general range of this type of pottery firing. I could tell from the burning pattern that my fire was probably in the 500-600 range. 100 degrees makes a big difference in terms of the strength and color of the finished vessel.
After that, I allowed the fire to die down naturally. Several hours later there were still some glowing coals, but the pots were no longer actively burning. After I was sure the fire was out, I went to bed, eager to see the results in the morning light.
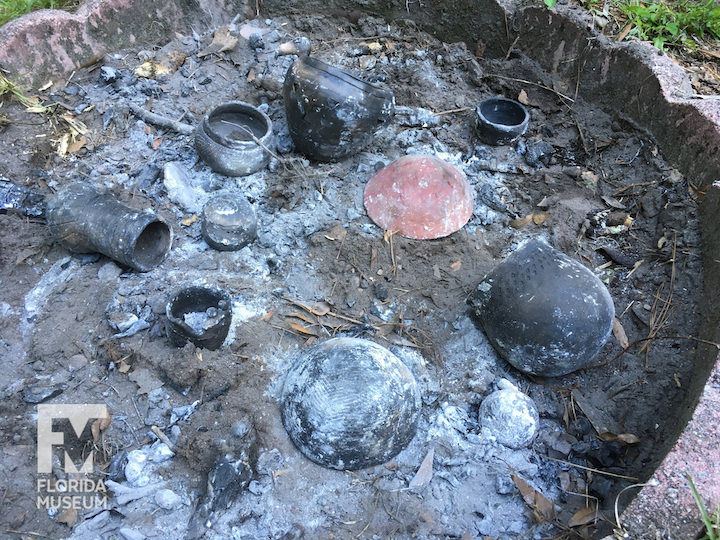
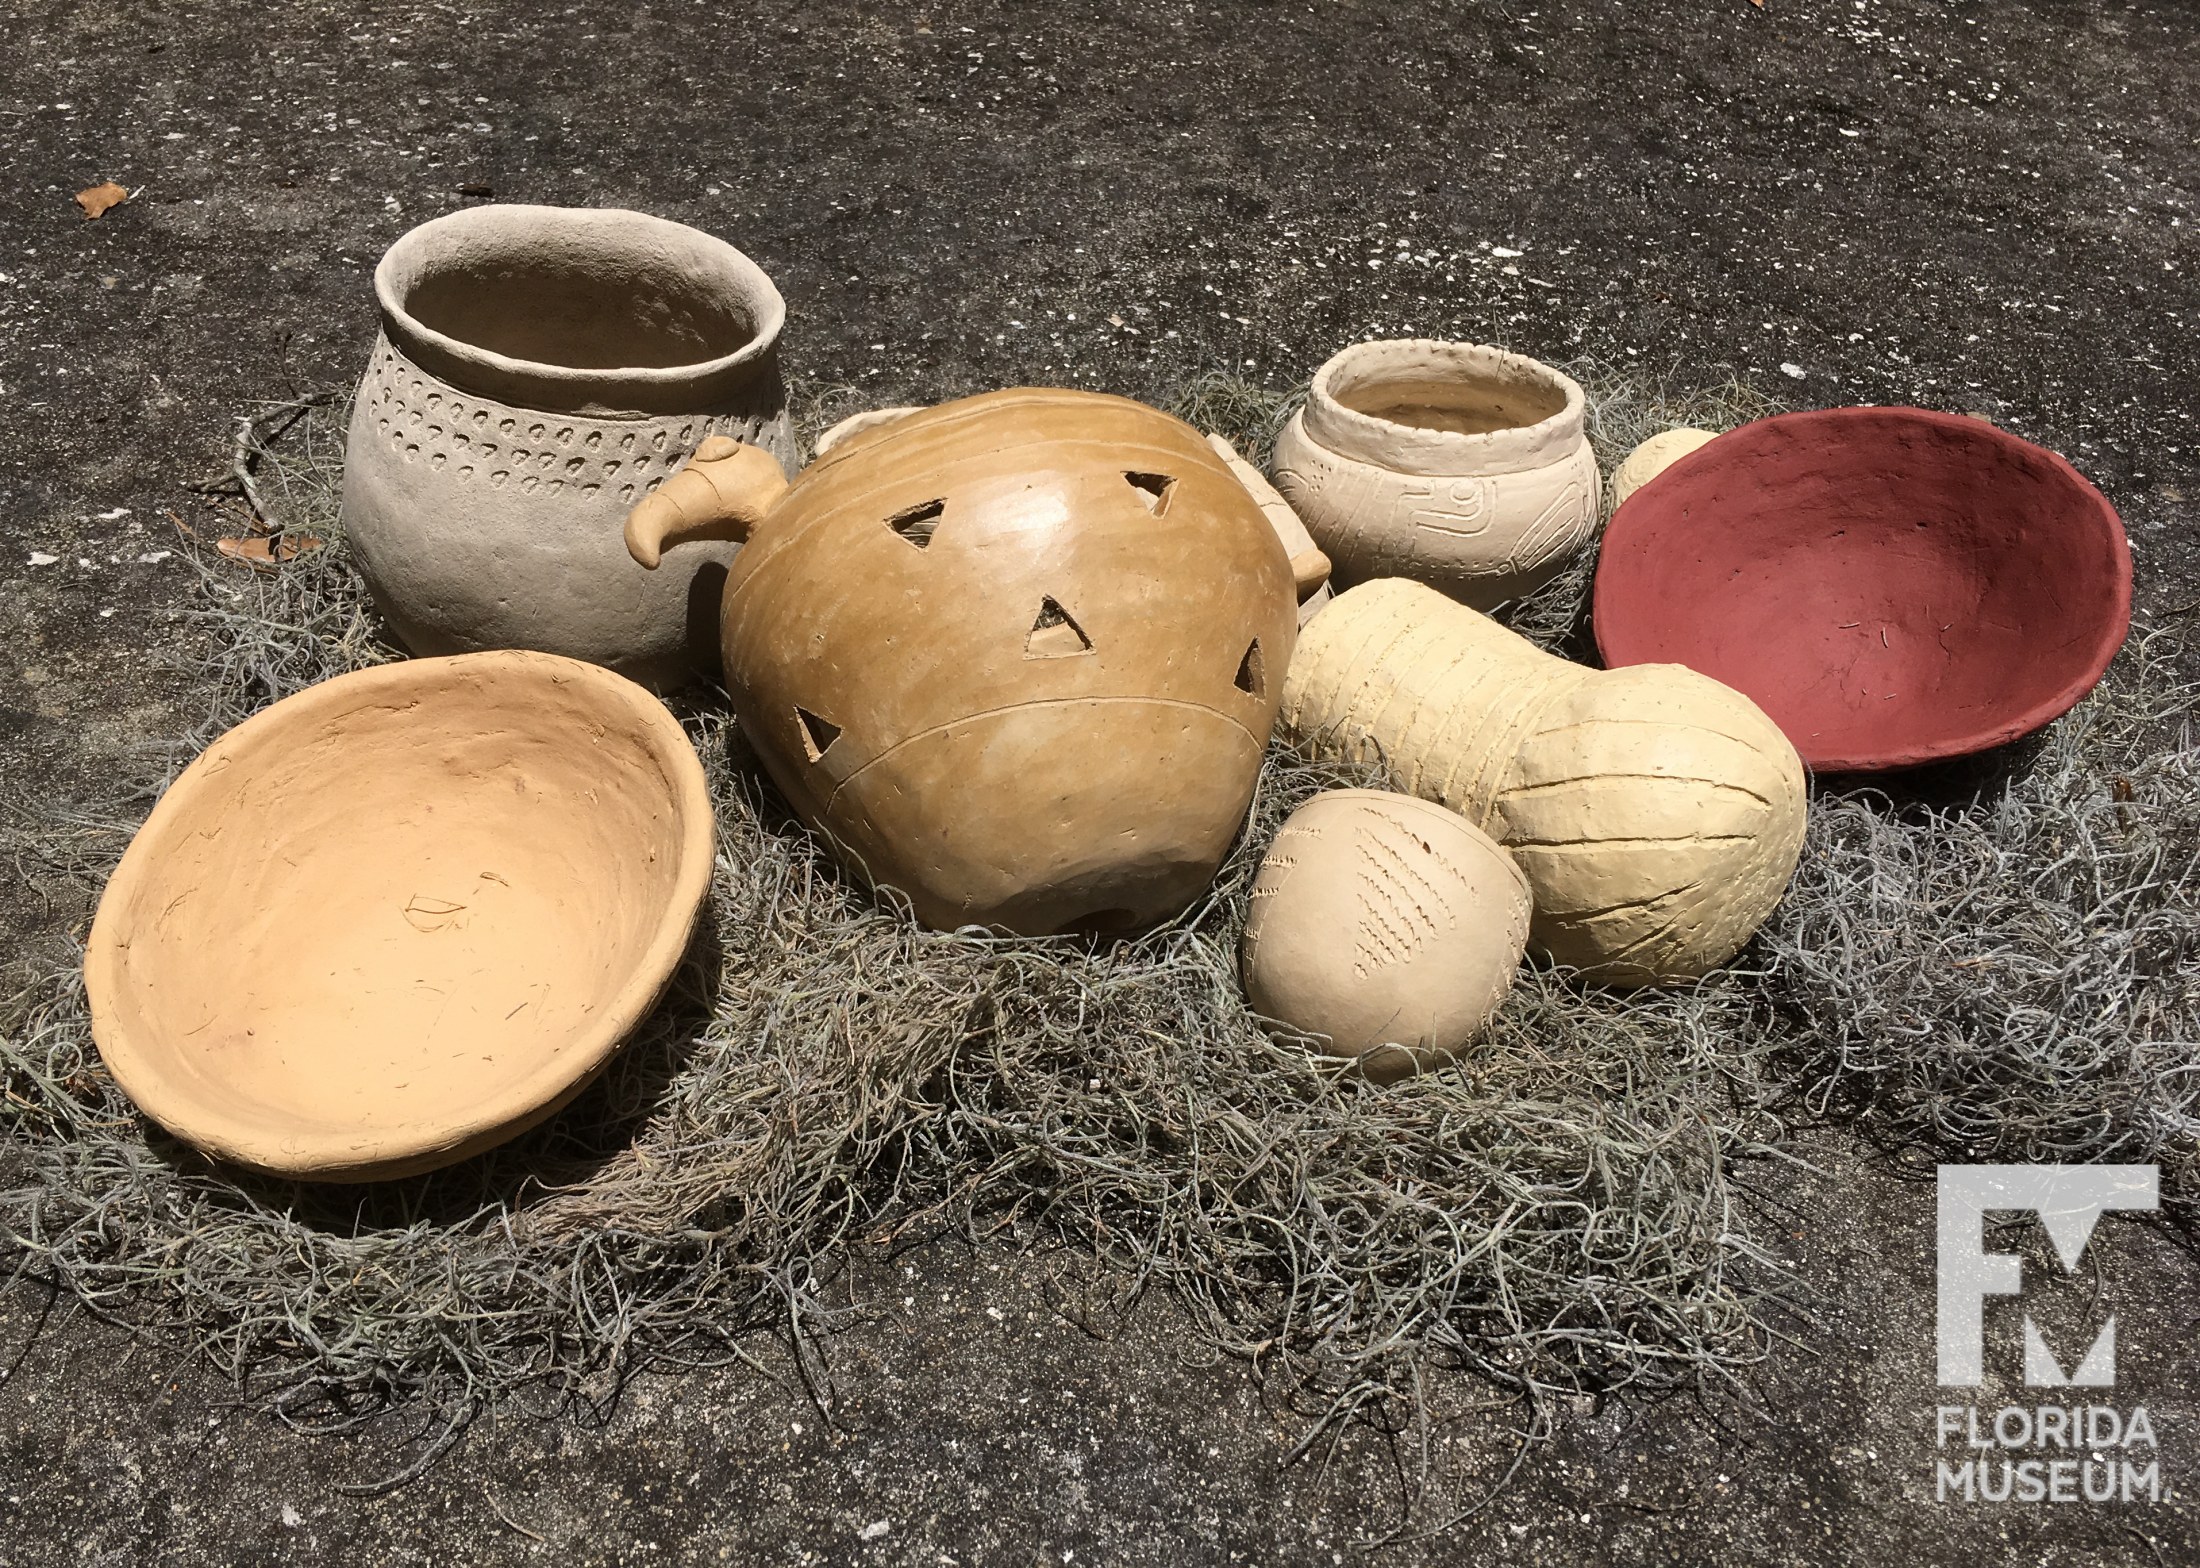
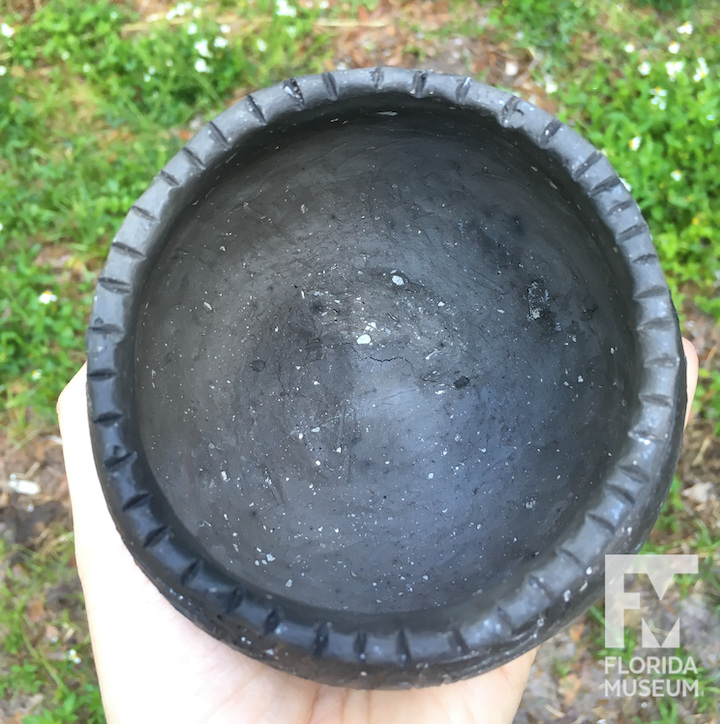
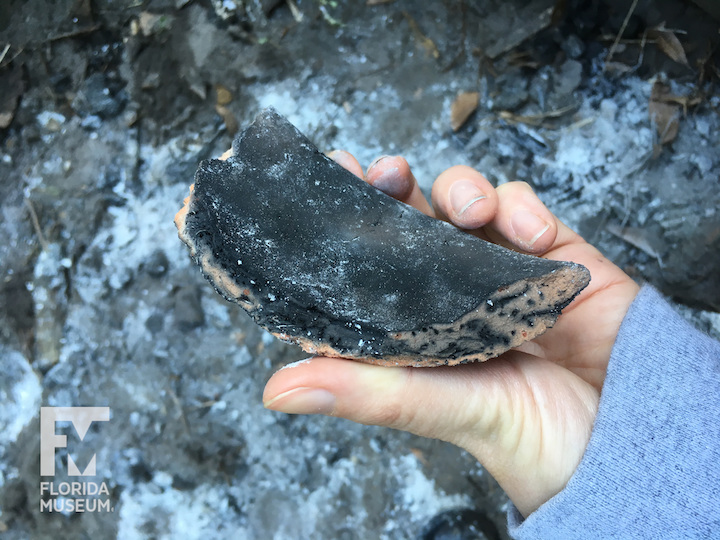
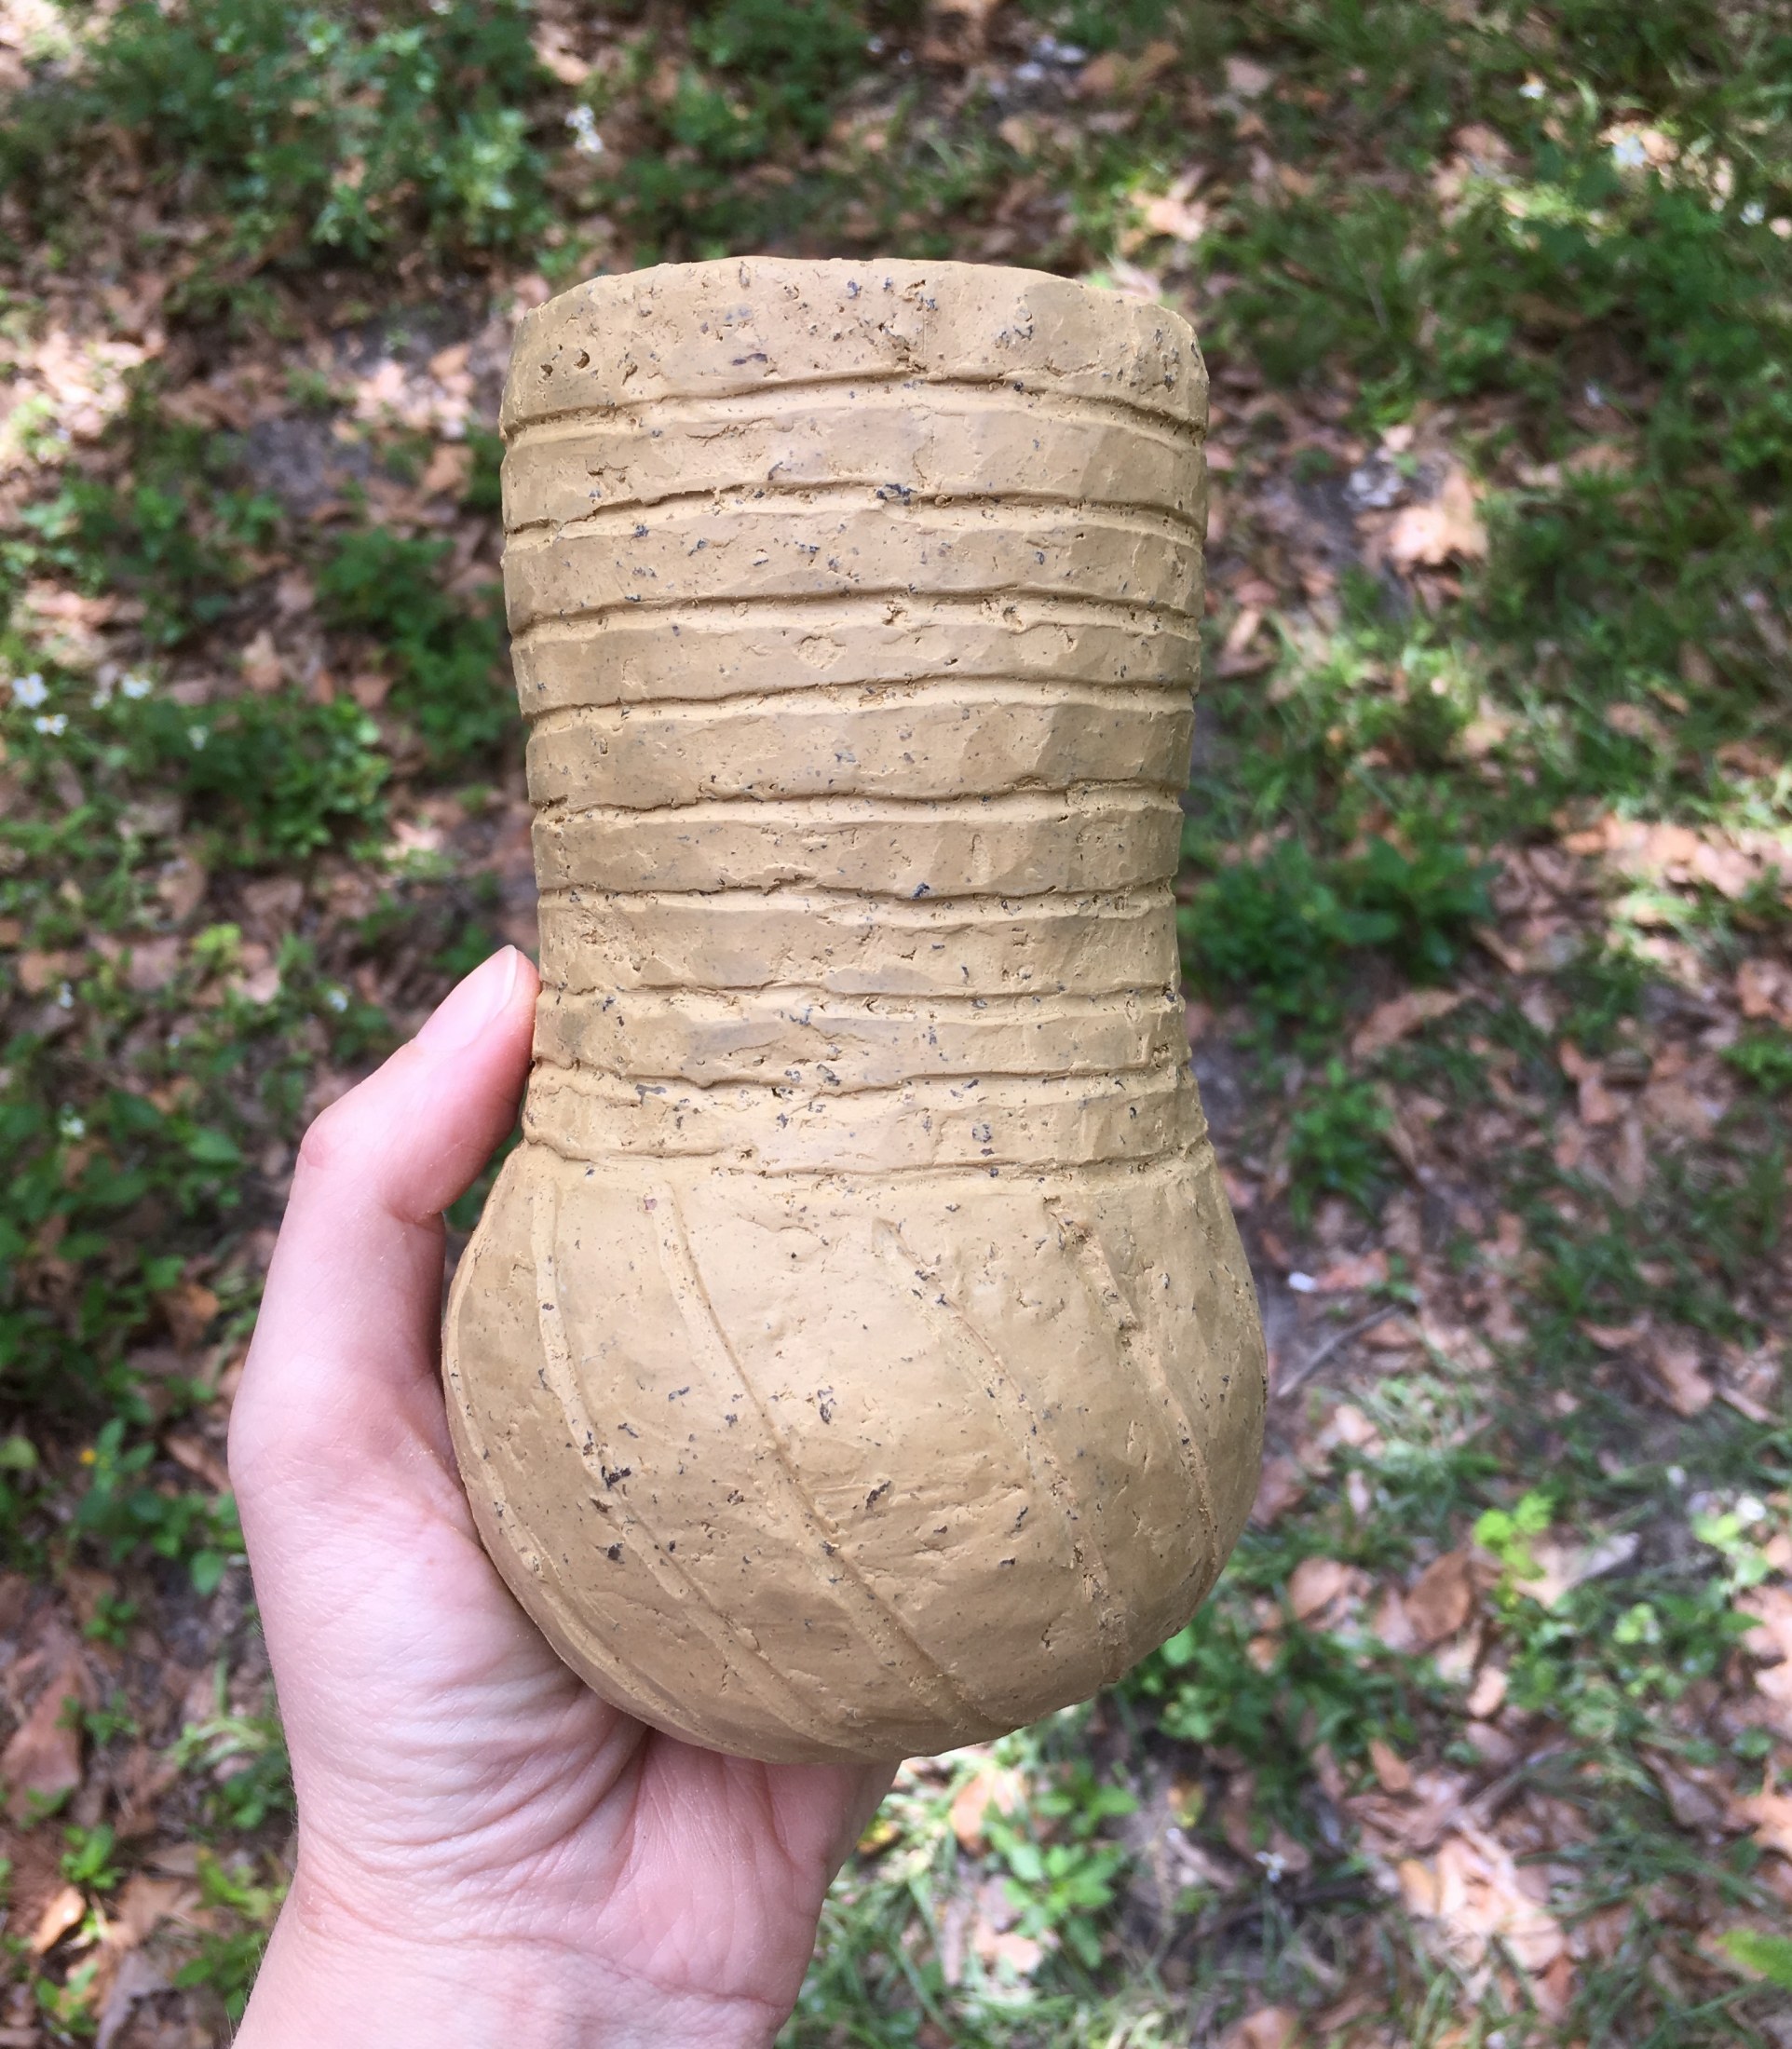
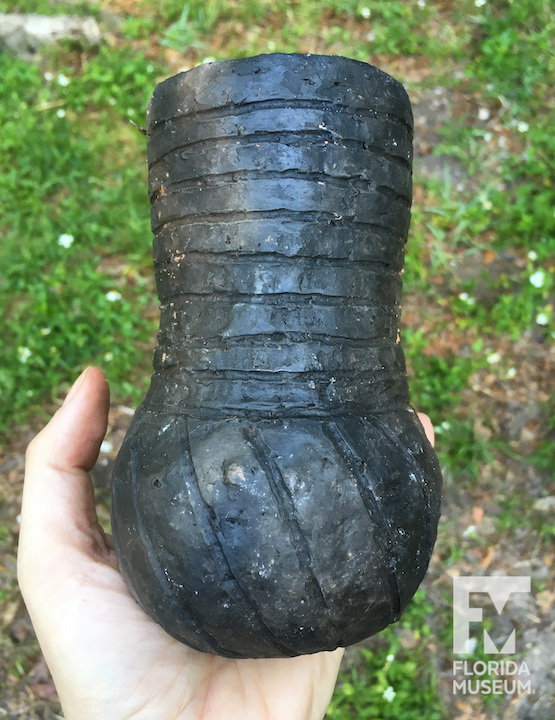
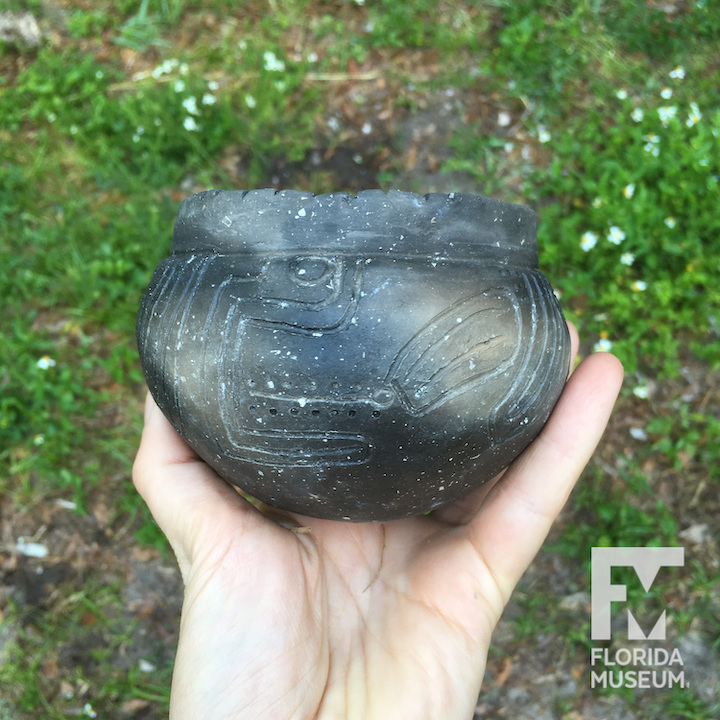
There were successes! No pots were destroyed, though a few had damage. The plink I heard was probably from the Pensacola Incised pot, which spalled (flaked) in the interior where I had seen a crack developing, but was still intact. The fiber tempered pot had a piece break off, though honestly I was kind of glad, because I wanted to see what it looked like inside. The low temperature of the firing meant that that the carbon from the burned Spanish moss hadn’t fully burnt away, leaving black trails behind. It actually looks pretty cool.
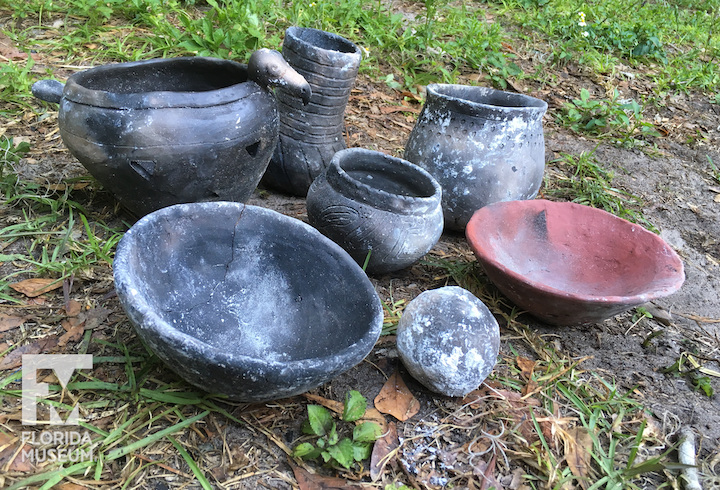
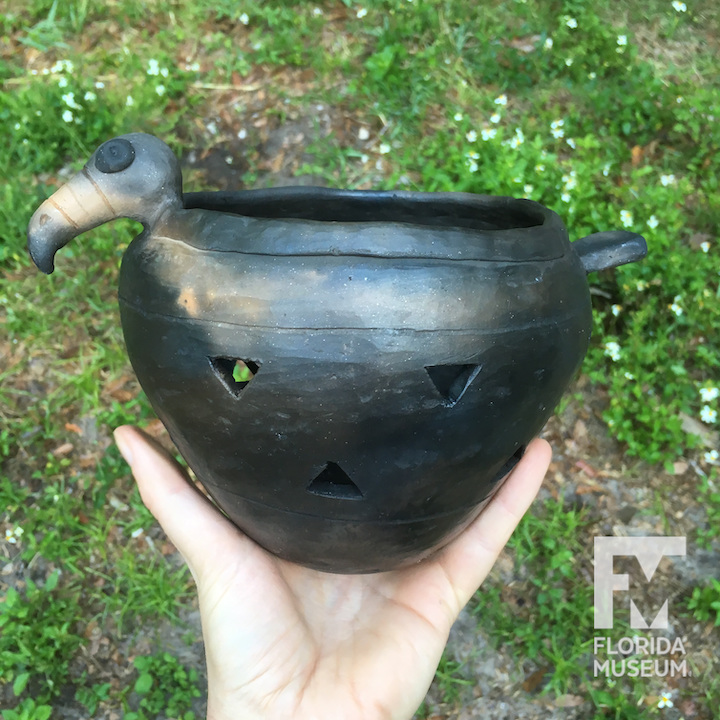
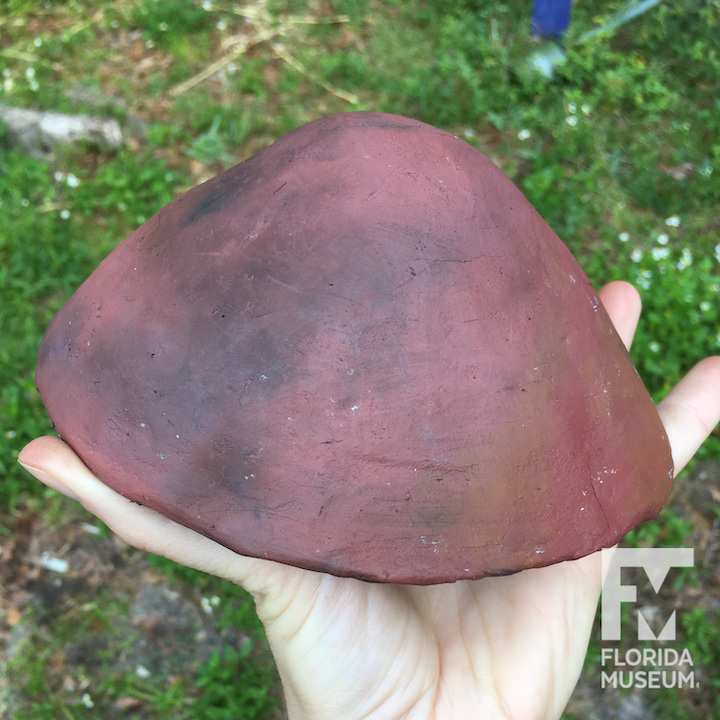
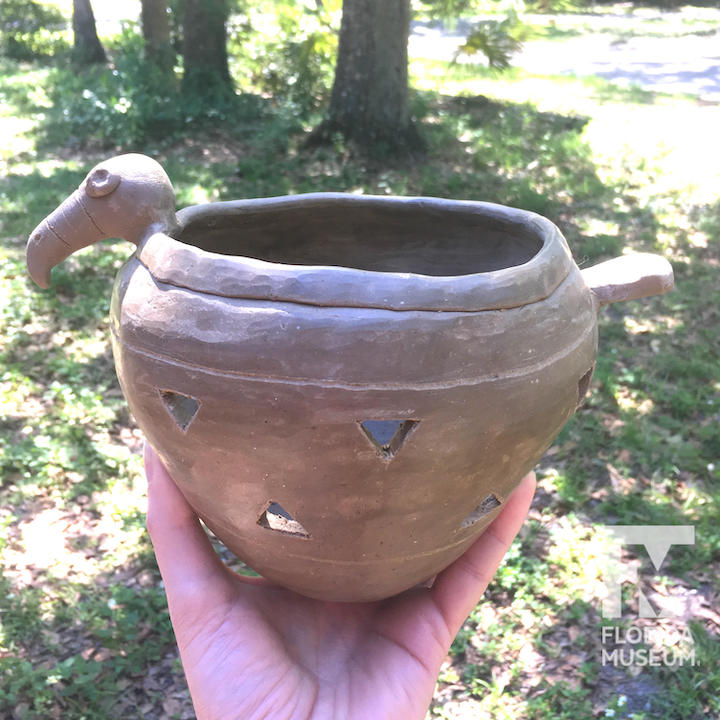
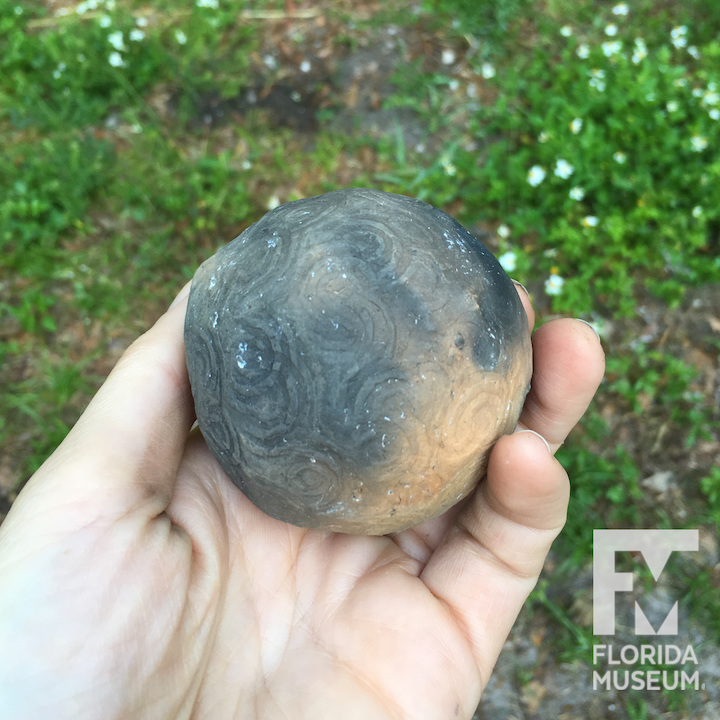
I play favorites, and my favorite pot was the vulture effigy. I was delighted to find that it came out entirely whole, and with an attractive shiny black surface. If I had been able to get a hotter fire, the color would likely have been more red as I had initially hoped, but I’m happy with this. You can see some glinting from the mica inclusions.
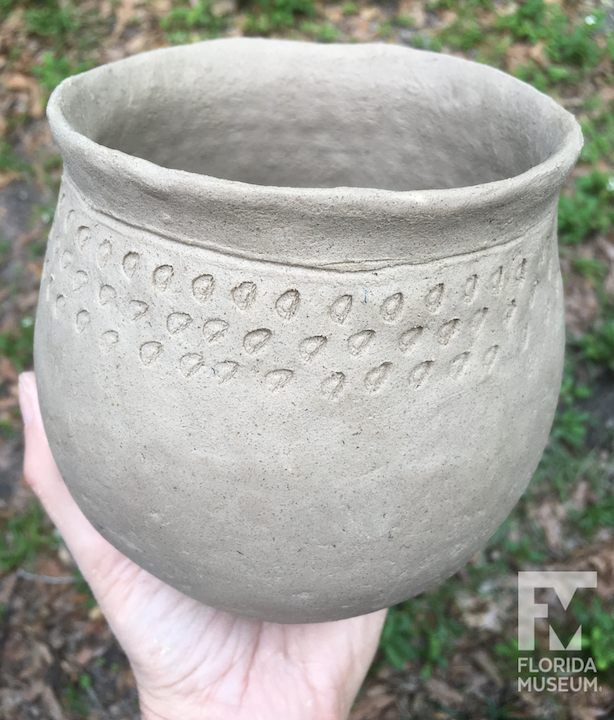
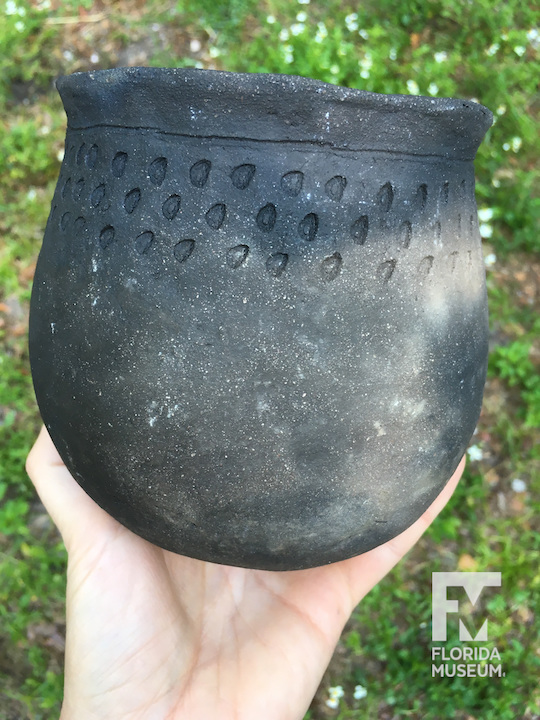
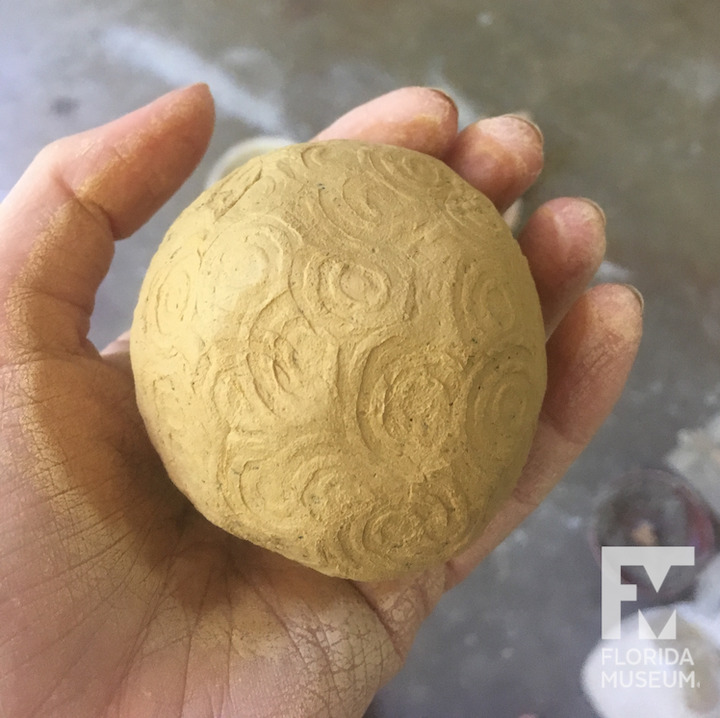
All of the pots would have turned out less black if the fire had been hotter. On the bright side, the fire clouding (color variation) is pretty. Here are all the before and afters:

The finished pots will probably make their way back to the lab, as teaching tools for outreach activities and classes once such things are possible again. In the meantime, I’m already scheming what I will do differently the next time, and techniques I still want to try. Thanks for following along on my adventure.
Watch the whole firing here: