Clay Chronicles Series
Carrabelle Punctated pottery, ca. 1500 years old
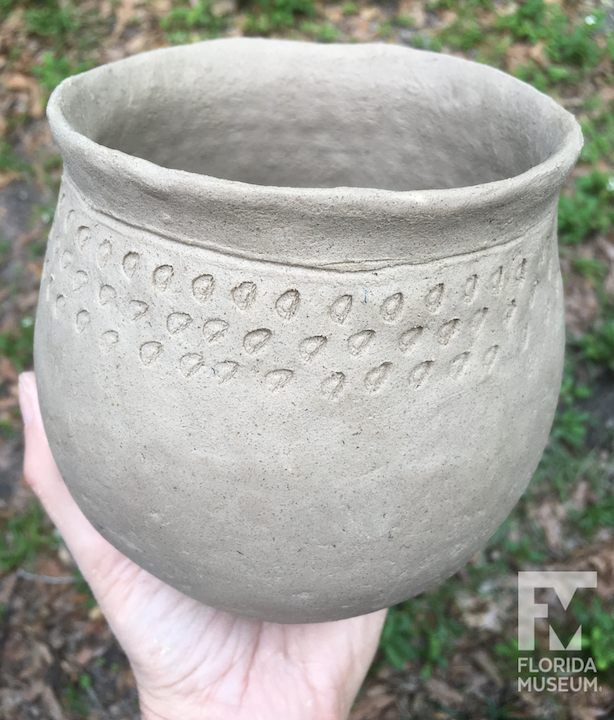
Today, I decided to jump ahead to the mid-late Woodland Period along the Florida Gulf Coast, with one of my favorite pottery types. Carrabelle Punctated pottery is defined by the way it is decorated. A ring of punctated (poked) decoration extends down from the neck of bowls or jars for a few inches.

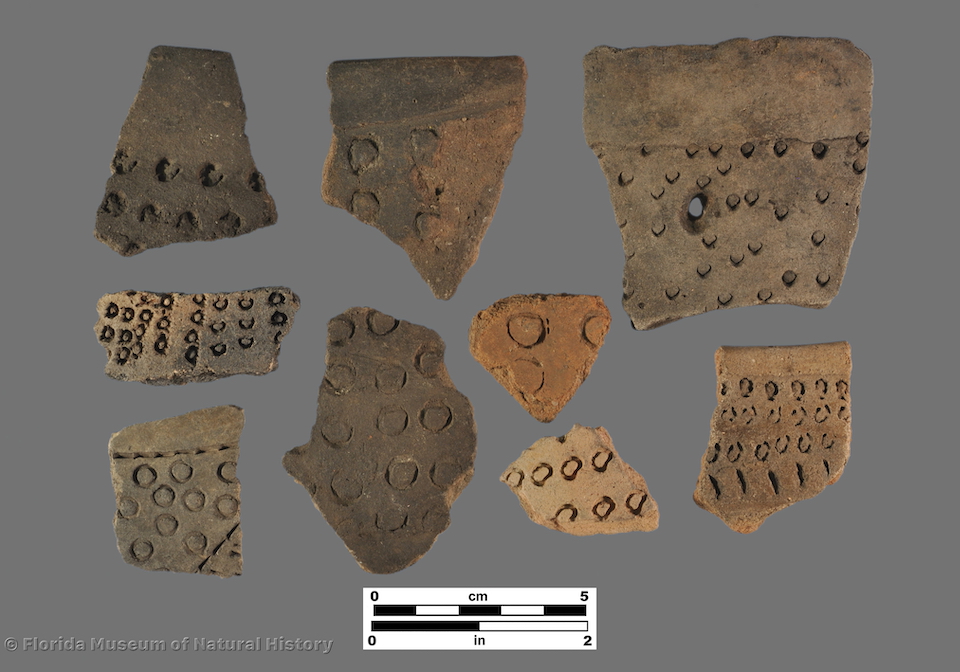
There are punctations made with reeds, punctations made with bones, and punctations made just with fingers.There are round shapes, half-moons, and triangles. So much variety within a single type.
Last year, we had Alexis, a lab volunteer, make impressions of the punctated designs with modeling clay, creating positive impressions as a way to visualize what the tools may have been. She sorted the Carrabelle fragments from our Willey type collection into at least five different categories, based on tool. My favorite sherd (pottery fragment) of the bunch is one with small punctations that look sort of like hollow beans.
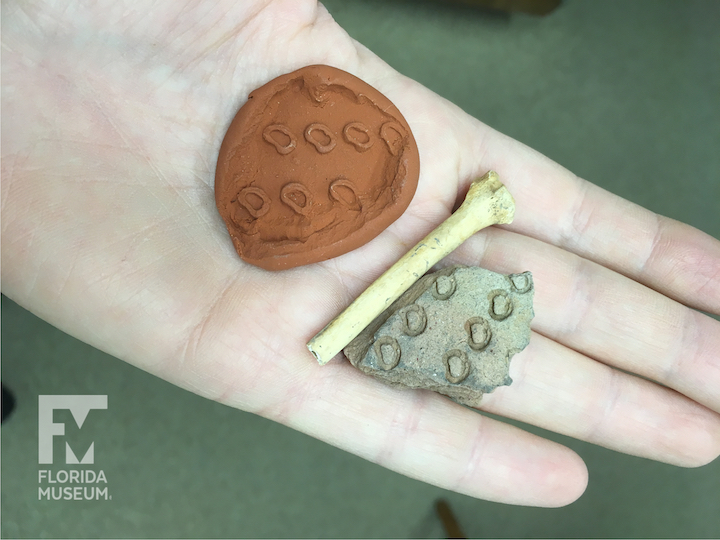
We could tell it was from a bone, but not which kind. So we asked Nicole Cannarozzi, collections manager of Environmental Archaeology and expert in Florida archaeological fauna. Based on the features, she identified the bone as coming from a mammal, probably a raccoon. She even gave us a raccoon radius, one of the arm bones, to test.
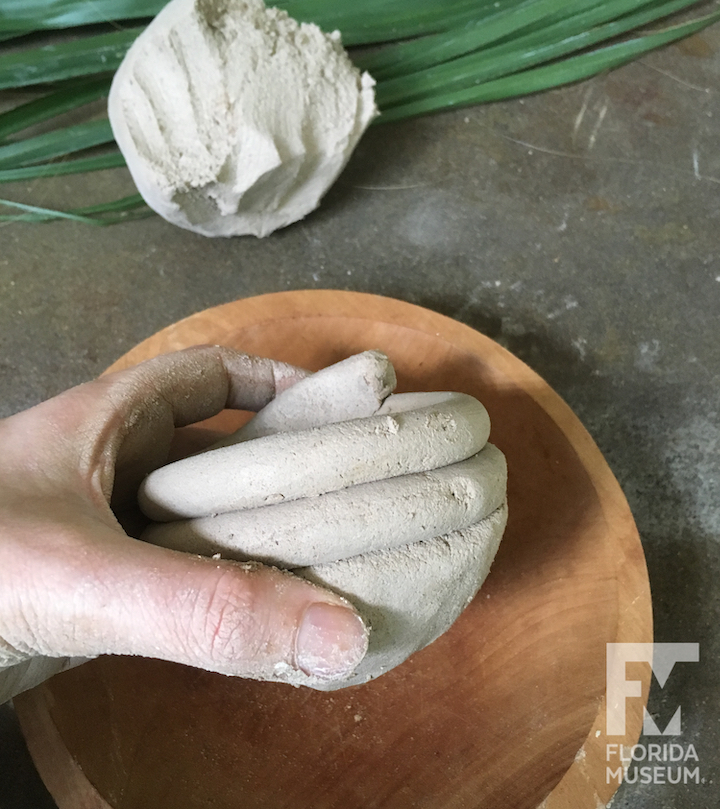
I decided to make a typical Woodland Period jar shape, with a slightly collared rim. They were used for cooking or food storage, and were a shape made with Carrabelle Punctated decoration. I started with the same basic toolkit as before. The clay was a sandy clay sent to us by an archaeologist working in Martin County, FL. It had a plastic texture, easy to shape, with stability added from the sand. Like Goldilocks and her beds, potters want a clay that is not too hard, and not too soft. This one was just right for a vessel with a lot of shaping.
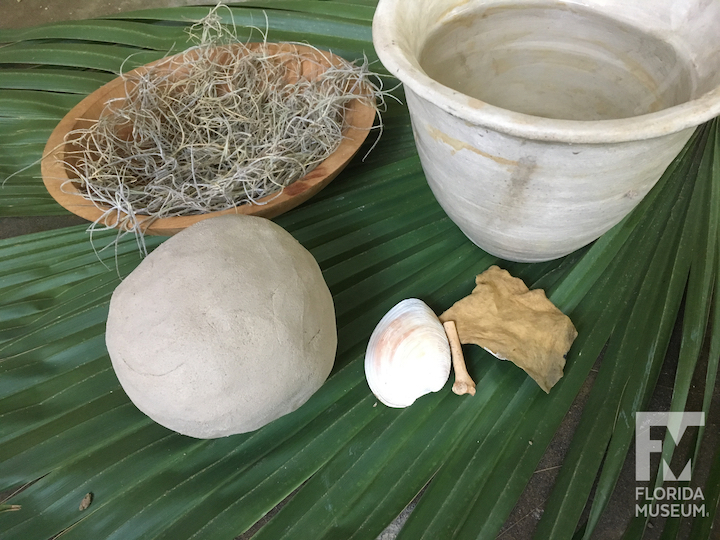
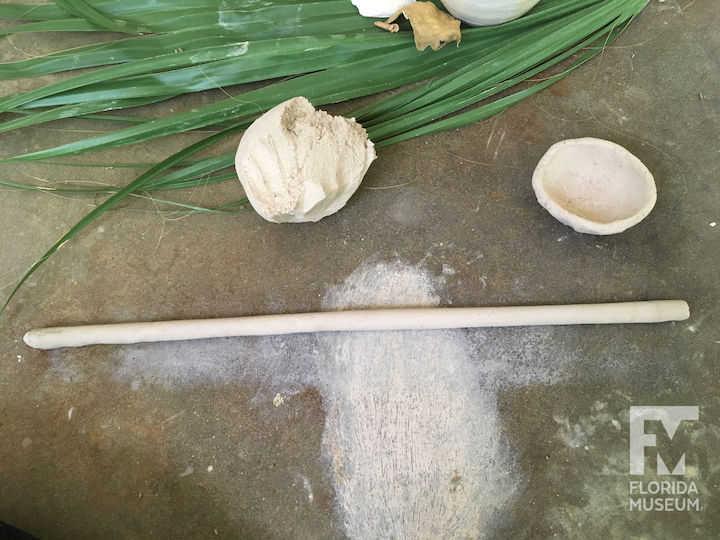
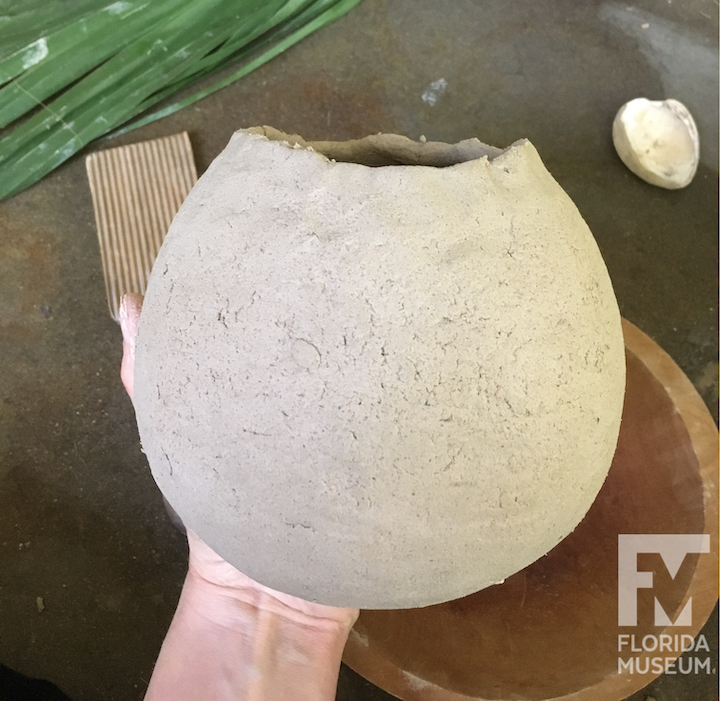
I began with a pinch pot and then added thick coils. I smoothed the coils together but kept the walls pretty thick. Then I used the clam shell on the inside to bulge out the walls, creating a globular shape and thinning at the same time. After letting it sit to firm up a bit, I added the final rows and gave the rim some shape.
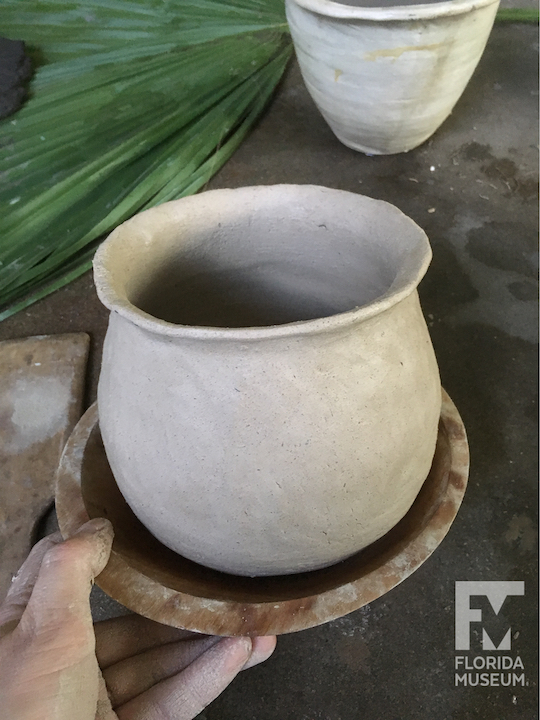
The next morning, after sitting out to dry, it was firm enough to do the final compression and shaping with the flat side of the wooden paddle. I then took my piece of raccoon bone and began making punctations. The walls were very thin, so I used my hand inside to make sure I didn’t go through. You can see the reverse indentations on the inside of the finished pot. They look pretty close to the archaeological example, but what do you think? Personally, I’d like to keep testing!
Watch the final vessel shaping and decorating: